There is nothing quite like the “underground treasure hunt” of harvesting potatoes. Digging into the cool, dark earth and pulling out firm, sun-warmed tubers is one of the most rewarding experiences a gardener can have. However, while potatoes are generally easy to grow, there is a significant difference between a mediocre harvest and a legendary one. To maximize your yield and ensure your spuds are large, healthy, and delicious, you need to go beyond just sticking a sprout in the ground. Here are 14 professional tips to help you achieve your biggest homegrown potato harvest yet.
1. Seed Potatoes
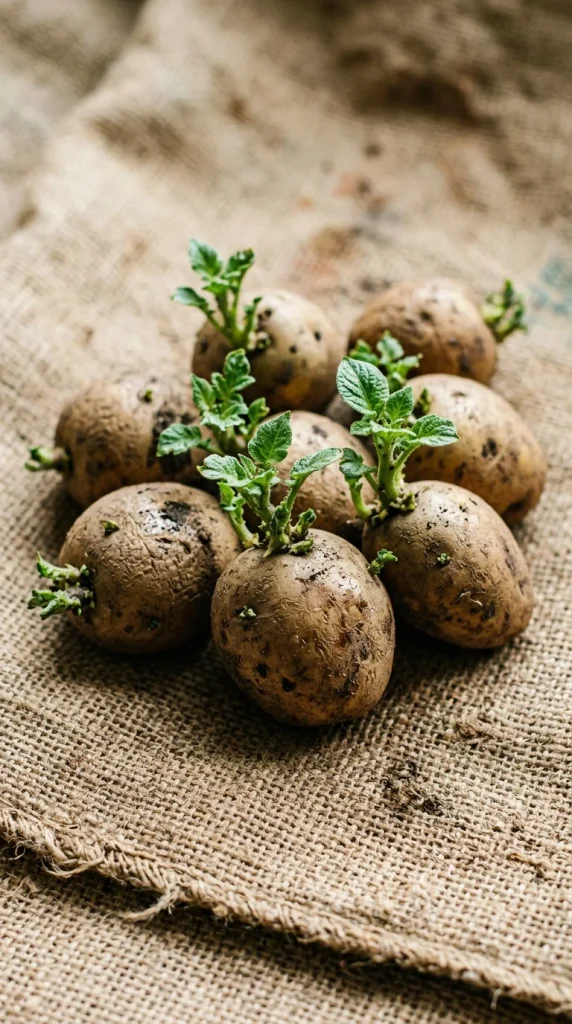
Success starts before you even touch the soil. While it is tempting to plant the sprouted potatoes sitting in your kitchen pantry, this is often a mistake. Grocery store potatoes are frequently treated with growth inhibitors to prevent sprouting, and they may carry soil-borne diseases that can linger in your garden for years. Instead, invest in “certified seed potatoes.” These are specifically grown to be disease-free and are selected for their vigor. Look for varieties that suit your climate—early season varieties for short summers or late-season “maincrop” varieties if you want massive tubers for winter storage.
2. Chitting
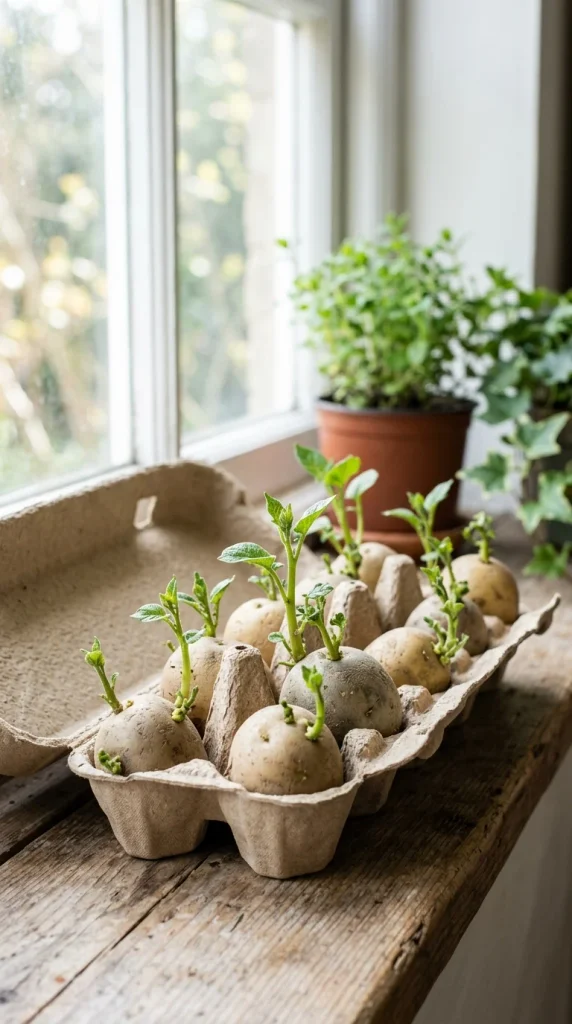
“Chitting” is simply the process of pre-sprouting your potatoes before they go into the ground. By placing your seed potatoes in a cool, bright spot (like a windowsill) for 2 to 4 weeks before planting, you give them a head start. Position the “eyes” (the little indentations where sprouts form) facing upward. You are looking for short, sturdy, green or purple sprouts. This process can shave weeks off the growing time and leads to a more resilient plant that is ready to hit the ground running as soon as the soil warms up.
3. Loose Soil
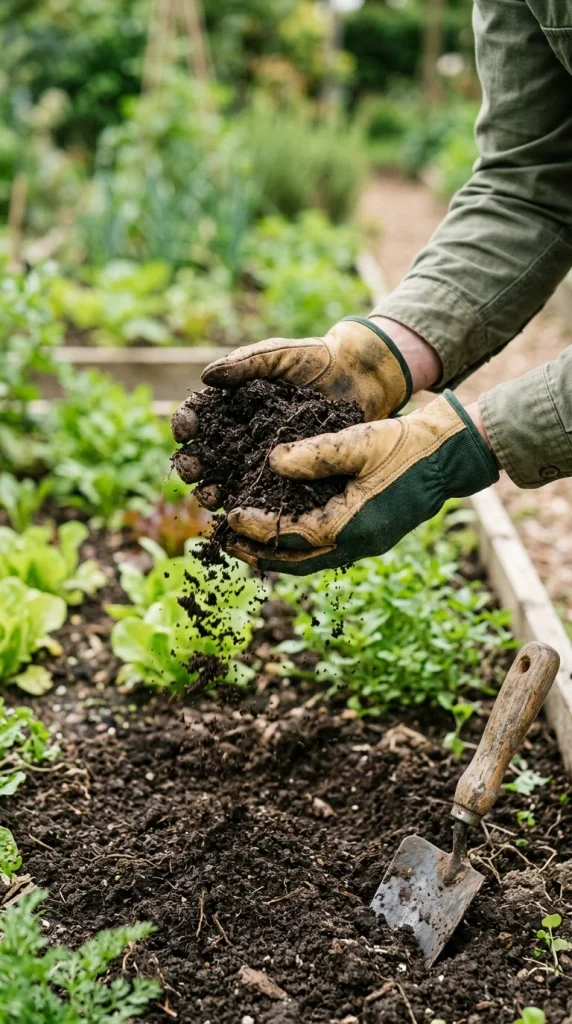
The single biggest enemy of a large potato harvest is compacted soil. Potatoes are tubers—modified stems that need space to expand. If the soil is heavy clay or packed tight, the tubers will be small, misshapen, and stunted. Aim for a loose, loamy soil structure rich in organic matter. Digging in well-rotted compost or aged manure the previous autumn can transform your garden bed into a potato paradise. Additionally, potatoes prefer slightly acidic soil (a pH of 5.0 to 6.0); if your soil is too alkaline, you may encounter “scab,” a harmless but unsightly skin condition.
4. Full Sun
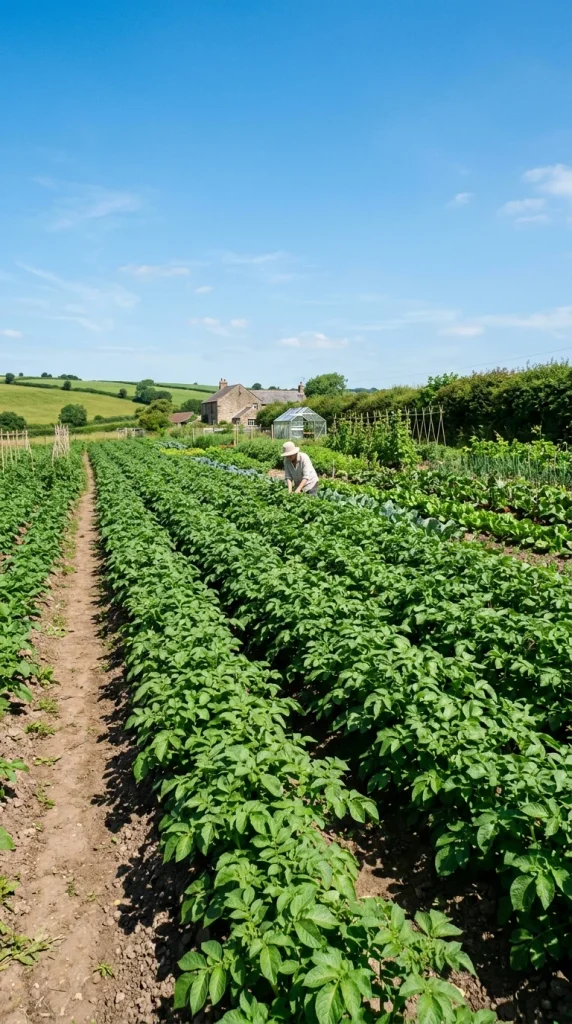
Potatoes are solar-powered machines. The green foliage above ground acts as a factory, converting sunlight into the sugars that are then pumped down into the tubers for storage. To get the largest possible potatoes, your plants need at least 6 to 8 hours of direct sunlight every day. While the plants might survive in partial shade, the resulting tubers will be significantly smaller. When planning your garden, ensure your potato patch isn’t being shaded by taller crops like corn or pole beans.
5. Trench Planting
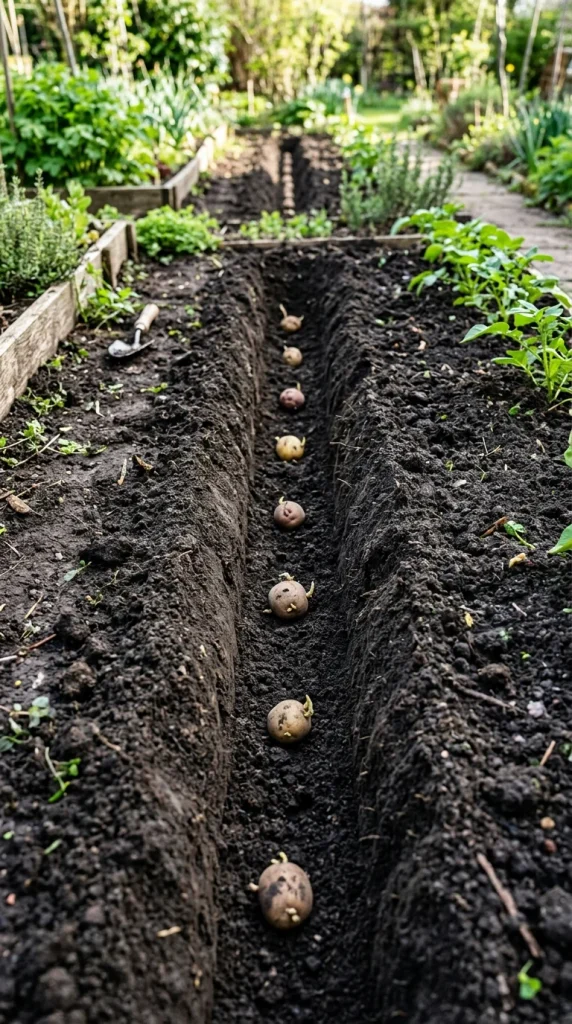
While there are many ways to plant potatoes, the traditional trench method remains one of the most effective for high yields. Dig a trench about 6 to 8 inches deep. Place your seed potatoes at the bottom, spaced about 12 inches apart, with the sprouts facing up. Cover them with only 3 or 4 inches of soil to start. This depth protects the tubers from late frosts while allowing the sun to warm the soil around the developing roots quickly. As the plant grows, you will fill the rest of the trench in.
6. Hilling
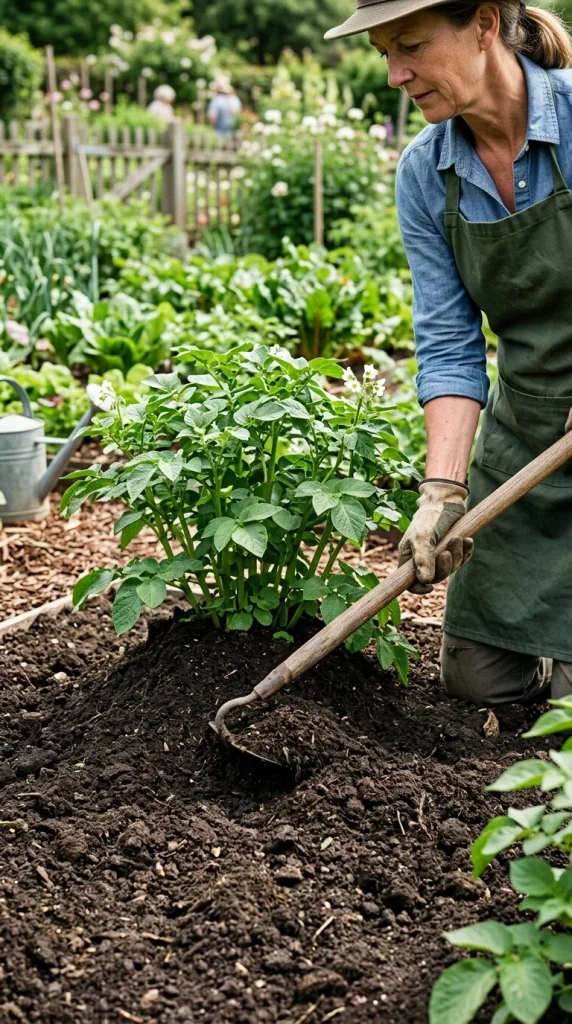
Hilling is the secret weapon of the master potato grower. As the potato stems grow upward, you must periodically mound soil (or a mix of soil and compost) around the base of the plant, covering the lower leaves. This serves two purposes: first, it provides more “vertical” room for tubers to grow along the buried stem; second, it ensures that developing potatoes are never exposed to sunlight. If a potato is exposed to light, it turns green and produces solanine, a toxic compound that makes it inedible. Aim to hill your plants every time they reach 6 to 8 inches of new growth.
7. Regular Watering
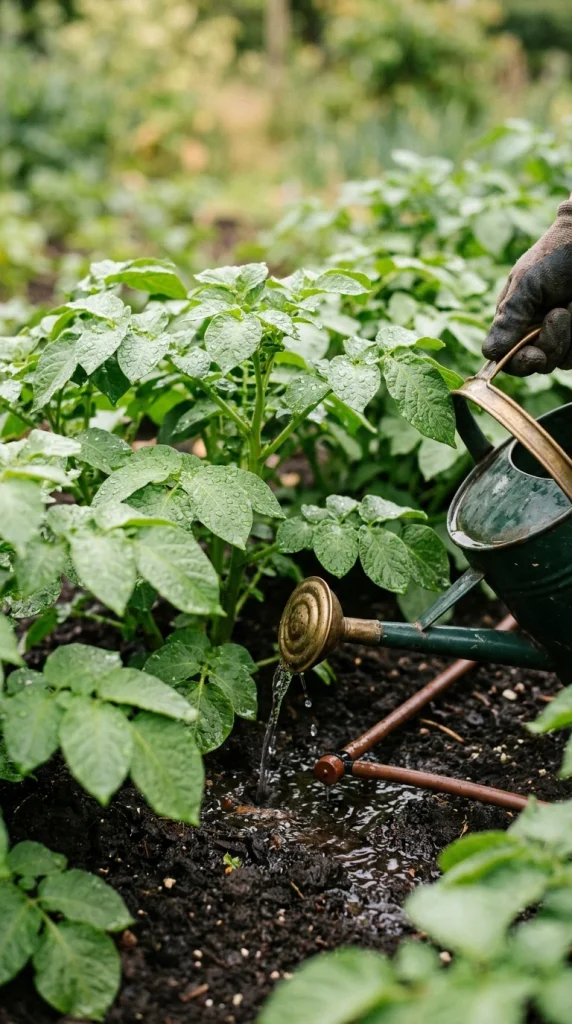
Potatoes are thirsty plants, especially when they are “setting” their tubers (flowering time). Inconsistent watering—letting the soil dry out completely and then drenching it—leads to “hollow heart” or knobby, misshapen potatoes. The goal is to keep the soil consistently moist but never waterlogged. Aim for about 1 to 2 inches of water per week. If you are growing in containers or bags, you may need to water daily during the heat of summer, as these environments dry out much faster than the ground.
8. Thick Mulch
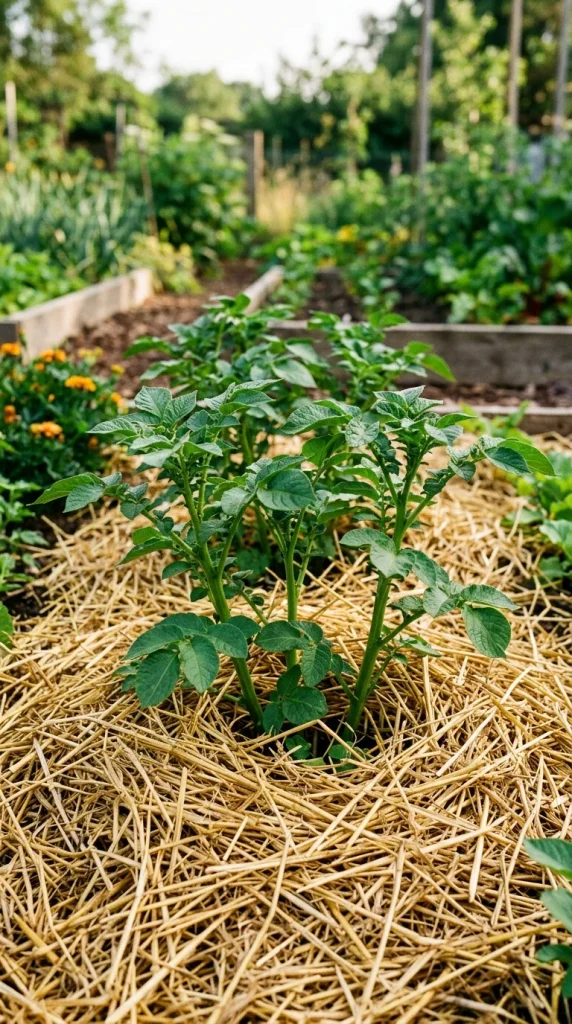
Once you have finished your final hilling for the season, apply a thick layer of organic mulch, such as straw, shredded leaves, or grass clippings (from untreated lawns). Mulch is a multi-tasking powerhouse: it suppresses weeds that compete for nutrients, retains critical soil moisture, and—most importantly—keeps the soil temperature cool. Potatoes stop producing tubers if the soil temperature gets too high. A 3-to-4-inch layer of straw can make the difference between a bumper crop and a total failure during a heatwave.
9. Balanced Nutrients
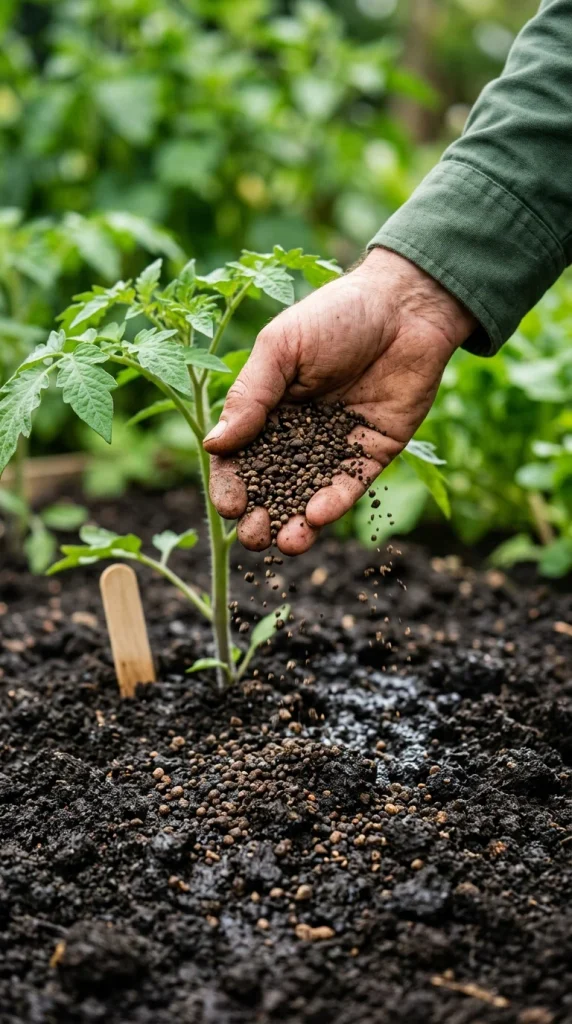
Potatoes are heavy feeders, but you have to be careful with the type of fertilizer you use. High-nitrogen fertilizers will give you massive, beautiful green bushes but very few potatoes underneath. Early in the season, a balanced organic fertilizer is great. However, once the plants begin to flower, they need more phosphorus and potassium to encourage tuber development. Look for organic fertilizers with a higher middle and end number (the P and K in N-P-K) to ensure the plant’s energy is directed underground rather than into the leaves.
10. Crop Rotation
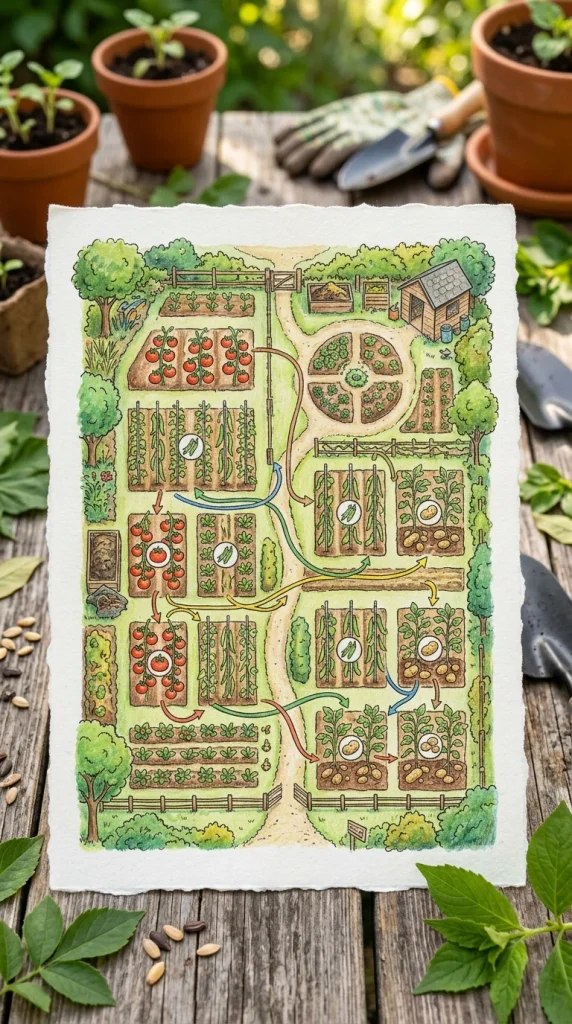
To maintain a healthy harvest year after year, never plant potatoes in the same spot two years in a row. Ideally, follow a 3- or 4-year rotation cycle. Potatoes belong to the Solanaceae (nightshade) family, along with tomatoes, peppers, and eggplants. They all share the same pests and diseases, such as early blight and verticillium wilt. By rotating your crops, you break the life cycle of these pathogens and ensure that the soil nutrients are not completely depleted.
11. Growing Bags
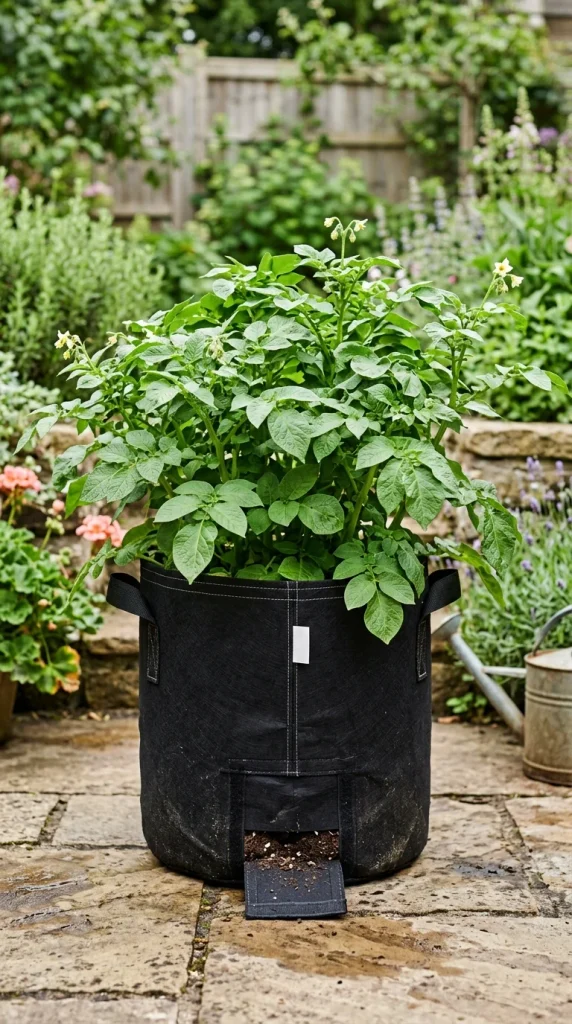
If you have limited space or heavy, clay-filled soil, consider using potato grow bags. These fabric containers provide excellent aeration and drainage, which prevents the tubers from rotting. The “air-pruning” effect of fabric pots encourages a dense, fibrous root system, often resulting in a higher concentration of tubers in a small space. Furthermore, bags allow you to control the soil quality perfectly, using a mix of high-quality potting soil and compost that is impossible for soil-borne diseases to penetrate.
12. Pest Vigilance
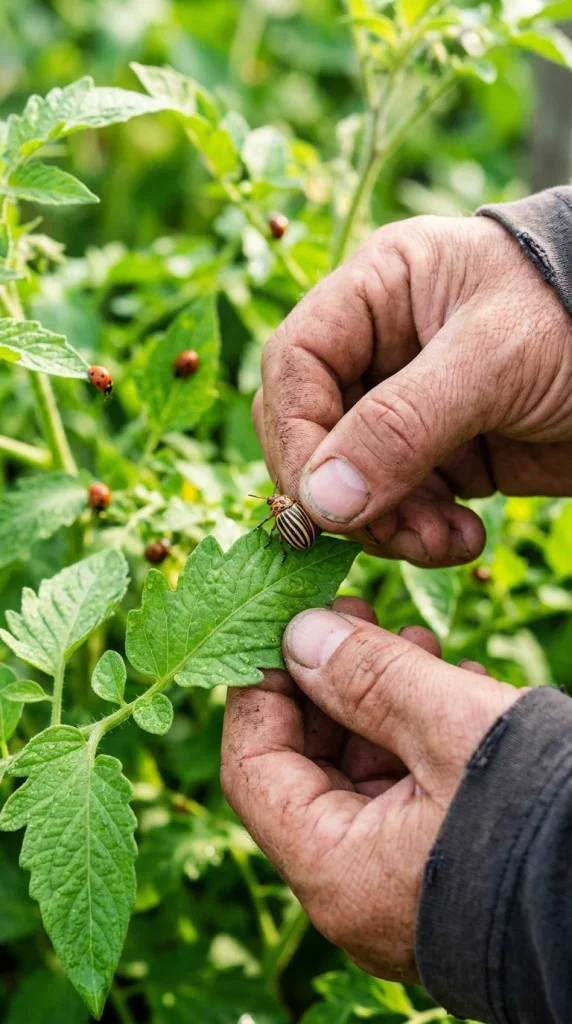
The Colorado Potato Beetle is the most notorious enemy of the potato patch. These striped invaders can defoliate a plant in days, leaving it with no way to produce energy for the tubers. Check the undersides of leaves regularly for clusters of bright orange eggs. The best defense is often “hand-picking”—simply knocking the beetles and larvae into a bucket of soapy water. If an infestation gets out of control, organic options like Neem oil or Spinosad can be used, but early detection is always the most effective strategy for a big harvest.
13. Flower Removal
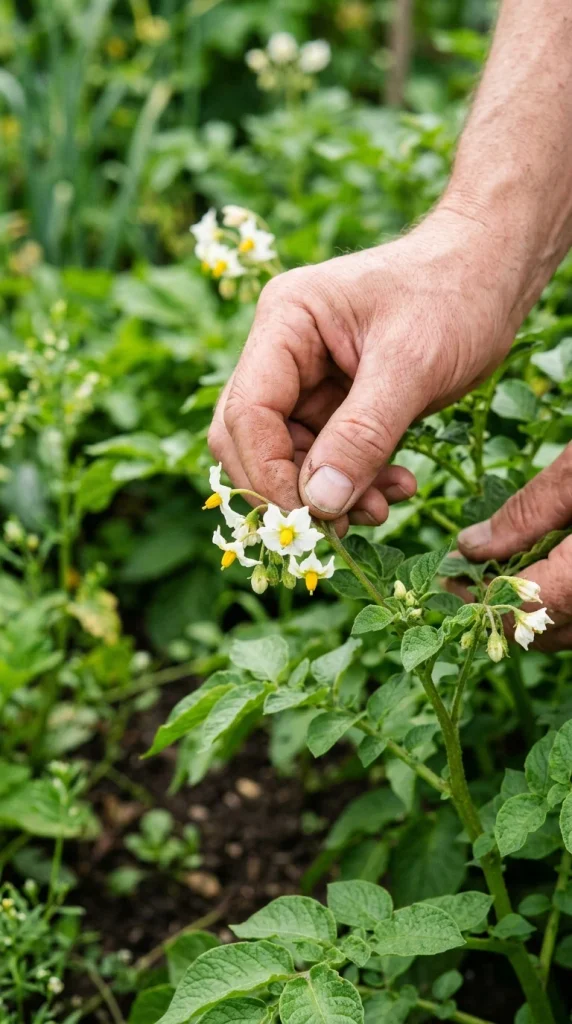
When your potato plants start to produce flowers, it is a sign that tuber production is in high gear. Some gardeners swear by pinching off these blossoms as soon as they appear. The theory is that the plant is wasting energy producing flowers and “true” potato seeds (which look like tiny green tomatoes and are poisonous). By removing the flowers, you signal to the plant to redirect all that energy back down into the tubers. While the increase in yield may be modest, every bit of redirected energy helps when you’re aiming for giant spuds.
14. Proper Curing

The harvest isn’t over until the potatoes are cured. If you plan on eating your potatoes immediately (new potatoes), you can dig them up as soon as the flowers fade. However, for a “bigger” harvest of mature storage potatoes, wait until the foliage has completely died back and turned brown. Once harvested, do not wash them! Instead, let them sit in a cool, dark, well-ventilated area for about two weeks. This “cures” the skin, making it thicker and tougher, which prevents bruising and rot during storage. A properly cured potato can last for many months, allowing you to enjoy your big harvest well into the winter.