

The Spider Plant (Chlorophytum comosum) is a staple of the indoor gardening world, and for good reason. Known for its arching foliage and its uncanny ability to produce miniature versions of itself—often called “spiderettes”—this South African native is as resilient as it is beautiful. While they are famous for being nearly impossible to kill, there is a significant difference between a spider plant that is simply surviving and one that is truly thriving. To achieve that iconic explosion of lush, variegated leaves and a waterfall of healthy plantlets, you need to master a few specific care techniques.
1. Indirect Light
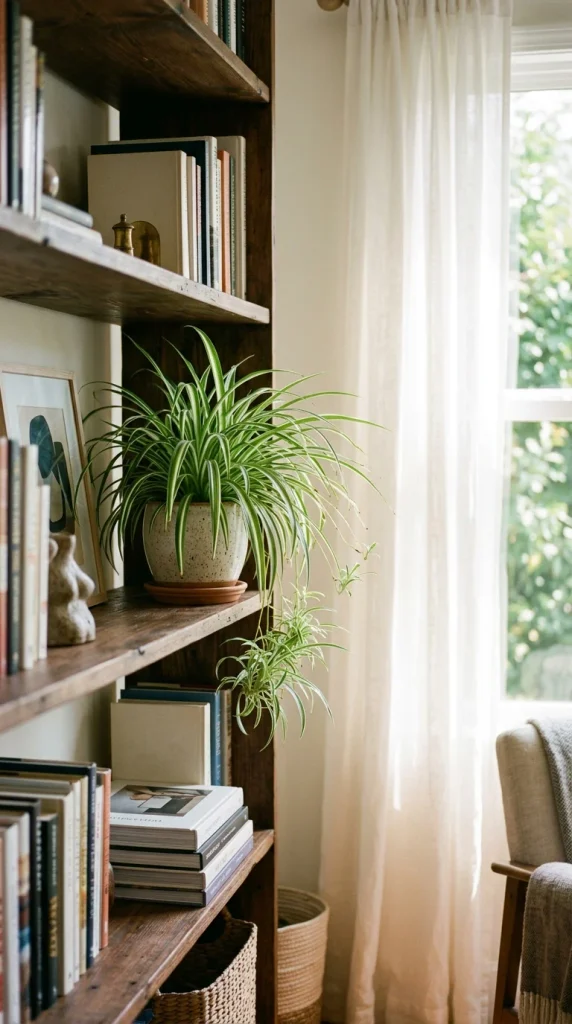
The foundation of a healthy spider plant starts with its lighting environment. While these plants are adaptable, they perform best in bright, indirect sunlight. In their natural habitat, they grow under the canopy of larger trees, receiving dappled light. Direct afternoon sun can be too harsh, quickly scorching the delicate leaves and turning them a crisp brown. Conversely, while they can survive in low light, you will notice their growth slows down significantly, and the vibrant white stripes may fade into a dull green. For the most dramatic variegation, place your plant near a north or east-facing window.
2. Well-Draining Soil
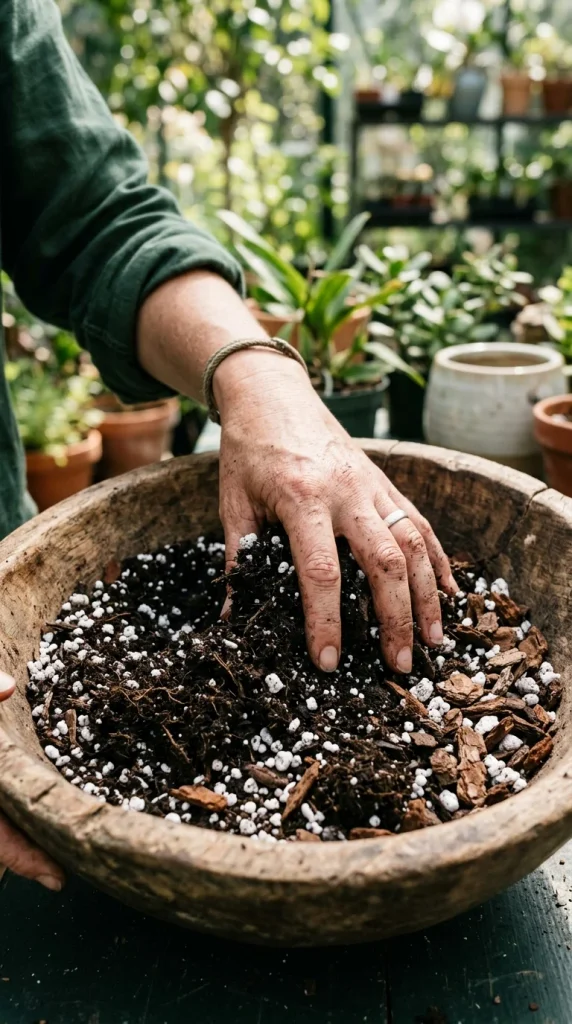
Spider plants have thick, tuberous roots that are designed to store water. Because of this, they are highly susceptible to root rot if they sit in soggy soil. A standard “all-purpose” potting mix is often too heavy and retains too much moisture. To ensure lush growth, create a custom blend by mixing two parts high-quality potting soil with one part perlite or coarse sand. This increases aeration and allows excess water to flow freely through the drainage holes. The goal is a medium that feels light and “fluffy” rather than dense and muddy.
3. Watering Schedule
Consistency is the secret to preventing the dreaded “limp leaf” syndrome. Spider plants prefer to dry out slightly between waterings, but they don’t want to become bone-dry. A good rule of thumb is to wait until the top two inches of soil feel dry to the touch. When you do water, do so thoroughly until water runs out of the drainage holes at the bottom of the pot. This “soak and dry” method encourages the roots to grow deep into the pot, resulting in a more stable and robust plant. During the active growing seasons of spring and summer, you may find yourself watering once a week, while in winter, this frequency should be reduced.
4. Distilled Water
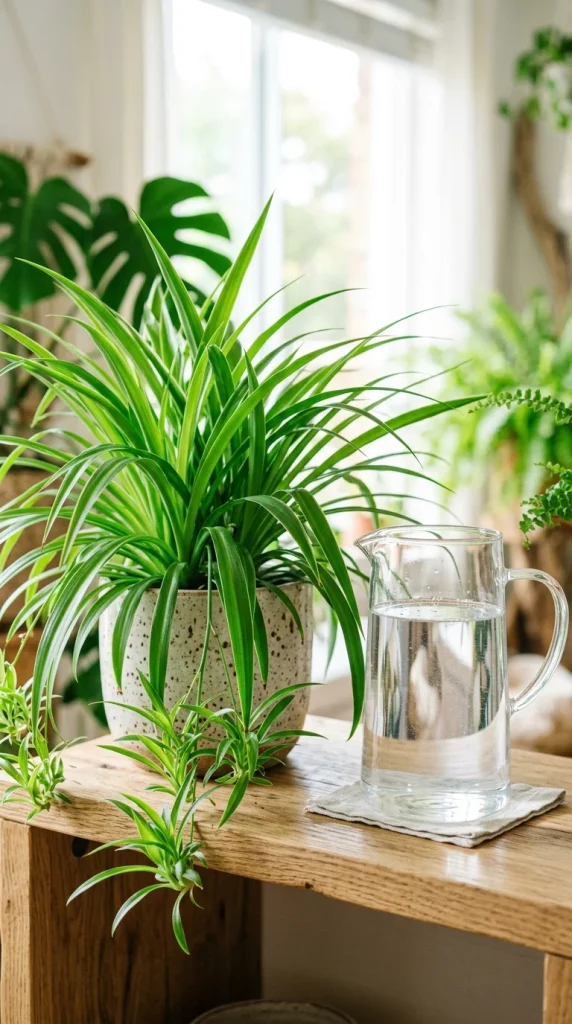
One of the most common complaints among spider plant owners is the appearance of brown, crispy tips on the leaves. While this can be caused by low humidity, the most frequent culprit is the chemicals found in tap water. Spider plants are sensitive to fluoride, chlorine, and salts commonly found in municipal water supplies. Over time, these chemicals build up in the leaf tips, causing them to die back. If you want pristine, green-to-the-tip leaves, use distilled water, rainwater, or filtered water. If tap water is your only option, let it sit in an open container for 24 hours to allow the chlorine to dissipate before using it.
5. Moderate Temperature
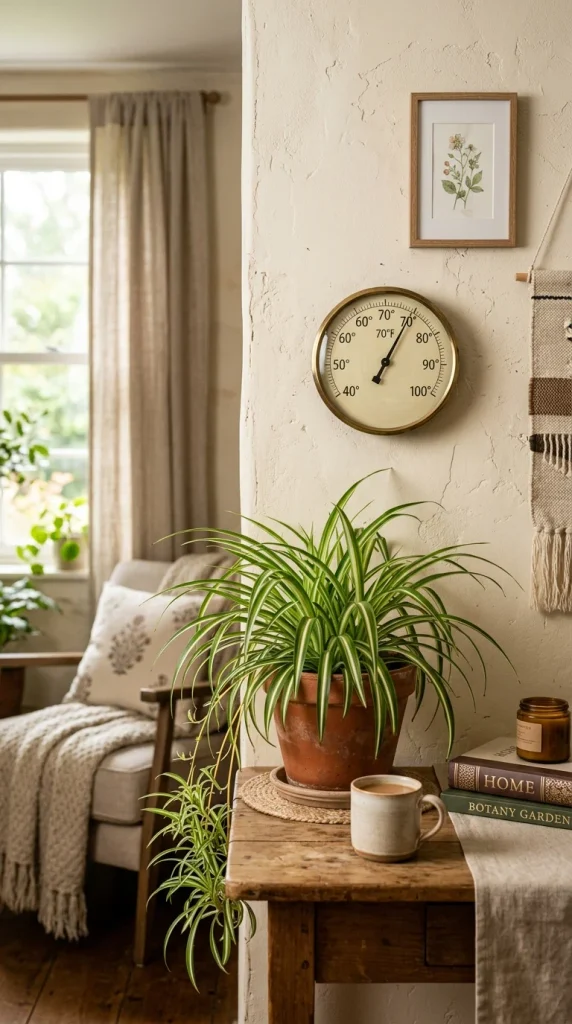
Spider plants are quite hardy, but they are most comfortable in temperatures ranging from 60°F to 80°F (15°C to 27°C). They can tolerate brief dips down to 50°F, but prolonged exposure to cold can cause the leaves to turn translucent or mushy. More importantly, keep your plant away from “micro-climates” within your home. This means avoiding drafty windows in the winter and staying clear of direct blasts from air conditioning vents or heating radiators. Rapid fluctuations in temperature can stress the plant, leading to leaf drop or stunted growth.
6. Ideal Humidity
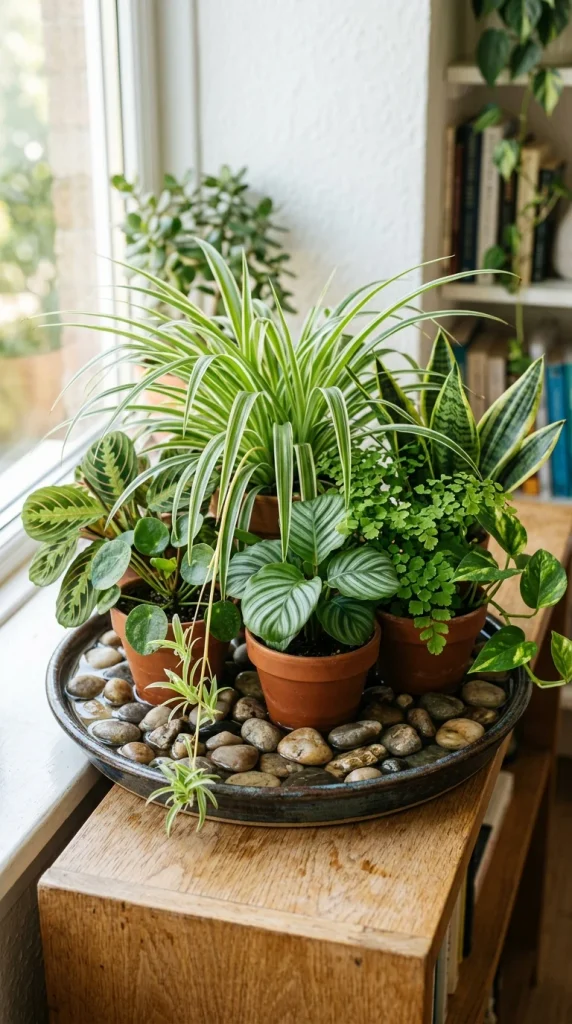
While spider plants can tolerate the average dry air of most homes, they truly flourish when the humidity levels are between 40% and 60%. If your home is particularly dry—especially during the winter months when heaters are running—your plant may develop brown tips. To boost humidity, you can group your plants together to create a small humid micro-environment through transpiration. Alternatively, place the pot on a pebble tray filled with water (ensuring the pot sits on the pebbles and not in the water) or use a small room humidifier. Misting the leaves can provide a temporary boost, but it is less effective than these other methods.
7. Fertilizing Routine
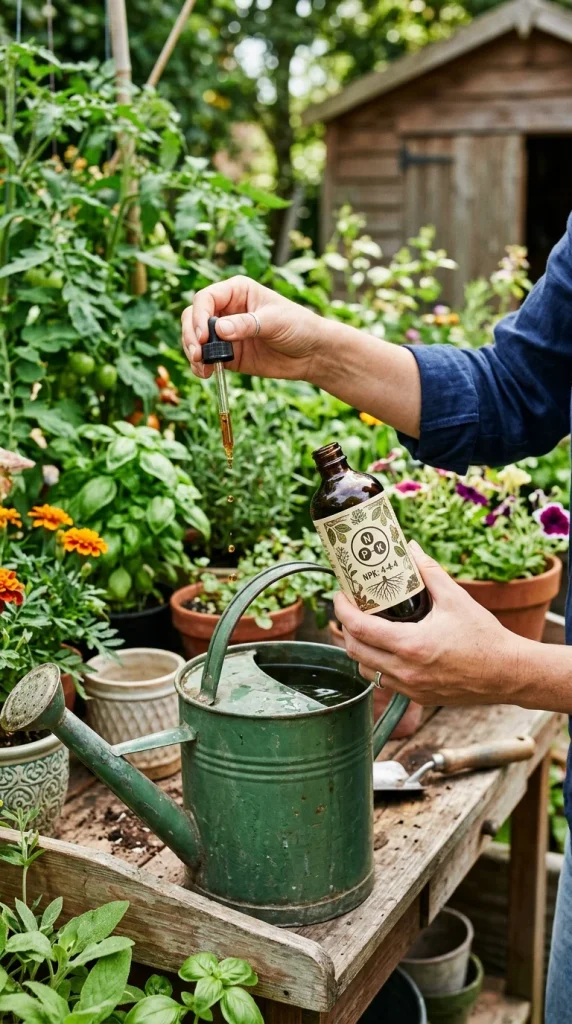
To maintain that lush, rapid growth, your spider plant needs a little extra fuel during the spring and summer. Use a balanced, water-soluble fertilizer (such as a 10-10-10 or 20-20-20 ratio) diluted to half-strength. Feed the plant once a month during the growing season. It is crucial not to over-fertilize; too much nitrogen can actually inhibit the production of spiderettes, and a buildup of salts in the soil can burn the roots. When the plant enters its semi-dormant phase in the autumn and winter, stop fertilizing entirely to allow it to rest.
8. Potting Size
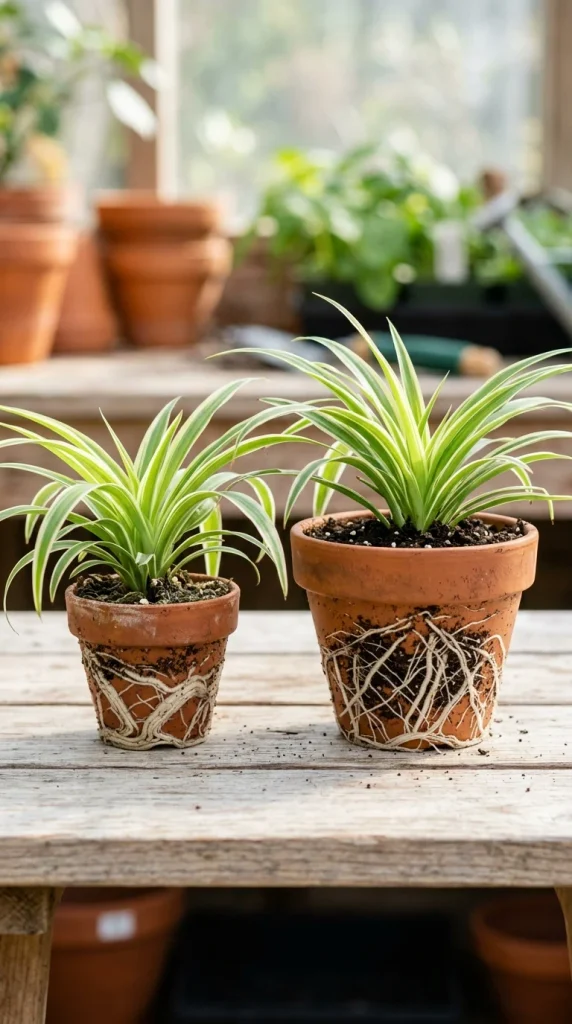
Spider plants are unique in that they actually enjoy being slightly “root-bound.” When their roots fill the pot and feel a bit of pressure against the sides, the plant perceives this as a signal to start producing offspring (spiderettes). However, there is a limit. If the roots start pushing the plant up out of the soil or if they begin to coil tightly around the bottom, it’s time to move up. Always choose a pot that is only 1-2 inches wider in diameter than the current one. A pot that is too large will hold too much moisture, increasing the risk of root rot.
9. Pruning Leaves
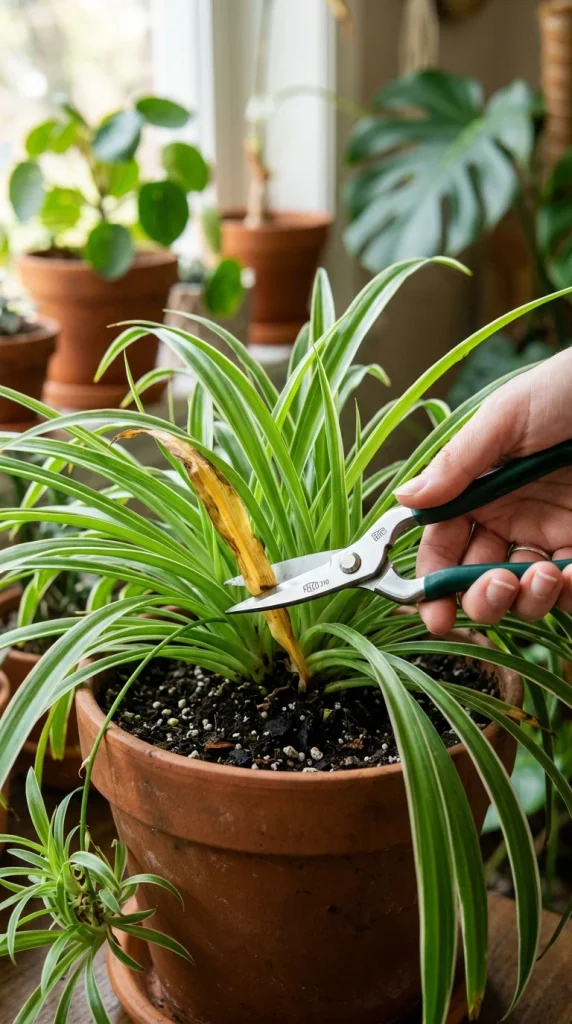
Regular grooming is essential for keeping your spider plant looking its best. Over time, older leaves at the base of the plant may naturally turn yellow or brown as part of the aging process. Use a pair of sterilized scissors or garden shears to snip these off at the base. Additionally, if you have brown tips due to water quality or dry air, you can trim the tips off. For a natural look, cut the tip at an angle to mimic the natural pointed shape of the leaf. Pruning not only improves the plant’s appearance but also allows the plant to redirect its energy toward new, healthy growth.
10. Pests Management
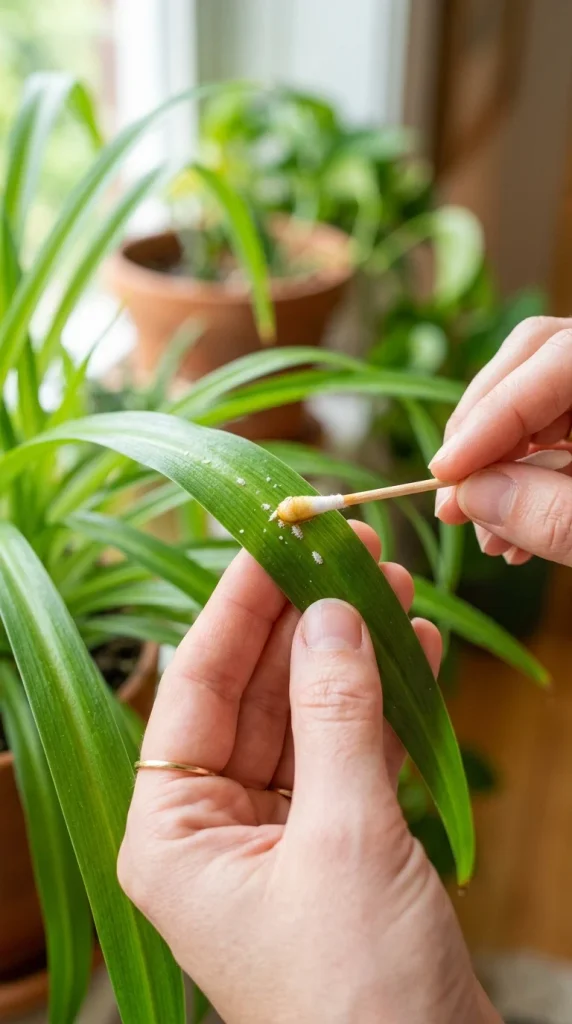
Spider plants are generally pest-resistant, but they aren’t invincible. The most common invaders are spider mites, aphids, and mealybugs. These pests usually appear when the plant is stressed or the air is excessively dry. Check the undersides of the leaves and the “crotches” where the leaves meet the base for any signs of webbing or sticky residue. If you spot pests, isolate the plant immediately. You can usually resolve the issue by washing the leaves with a gentle stream of water or applying an organic insecticidal soap or neem oil spray.
11. Propagating Spiderettes
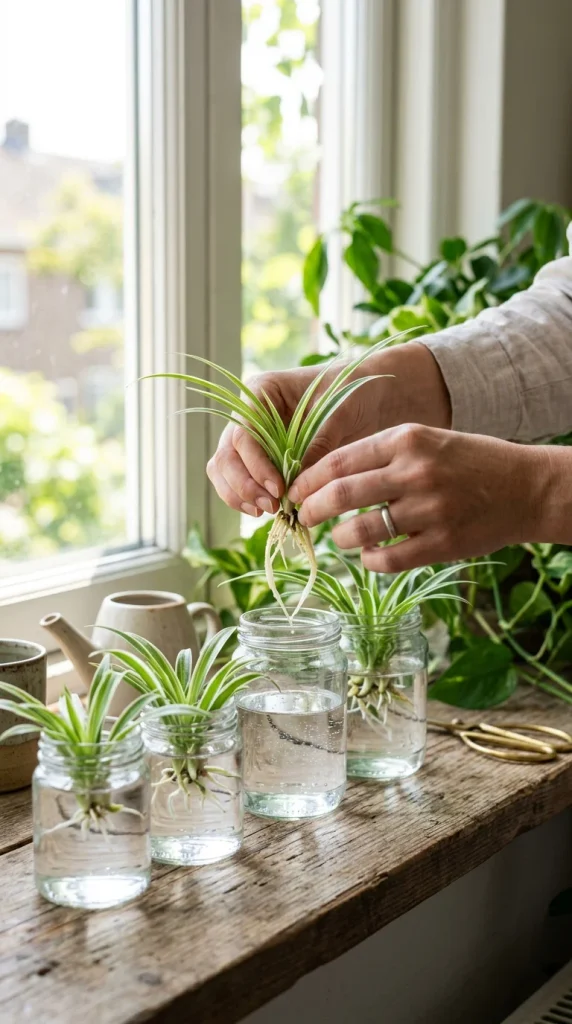
One of the greatest joys of owning a spider plant is propagation. Once your plant reaches maturity and receives enough light, it will send out long, wiry stems (stolons) with small white flowers that eventually turn into “pups” or “spiderettes.” To grow a new plant, you can wait until the pup develops small, knobby “air roots” at its base. Snip the pup off the mother plant and place it in a jar of water or directly into a small pot of moist soil. They root incredibly fast, often within two weeks, allowing you to easily expand your collection or share with friends.
12. Aerating Soil
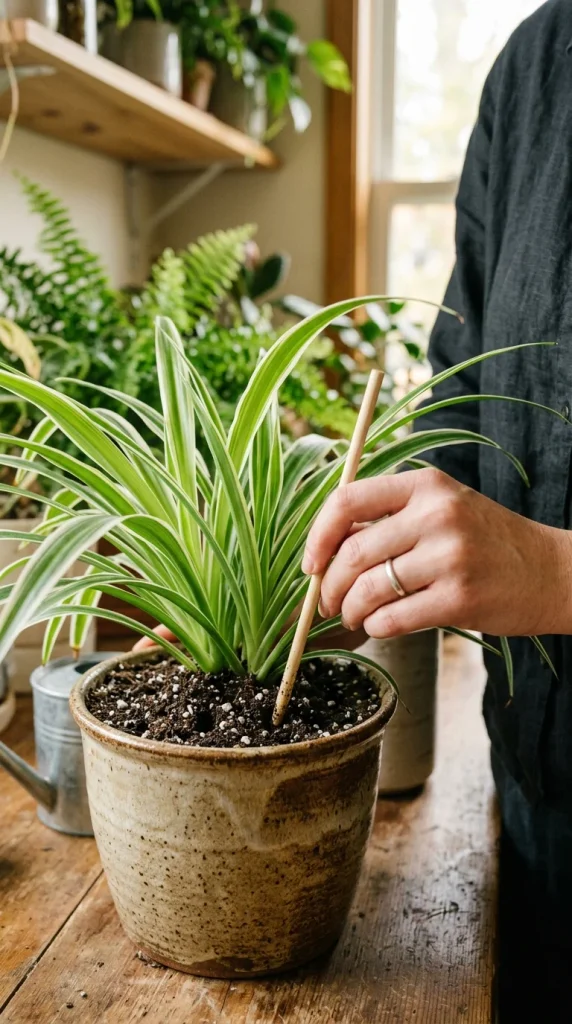
Over time, the soil in your pot can become compacted from repeated watering. This compaction squeezes the air out of the soil, making it harder for the roots to breathe and for water to penetrate evenly. Every few months, take a chopstick or a thin wooden dowel and gently poke several holes into the soil, going down a few inches deep. This “aeration” allows oxygen to reach the root zone and prevents the soil from becoming a solid, hydrophobic brick. Your plant will respond with more vigorous leaf production.
13. Rotation Practice
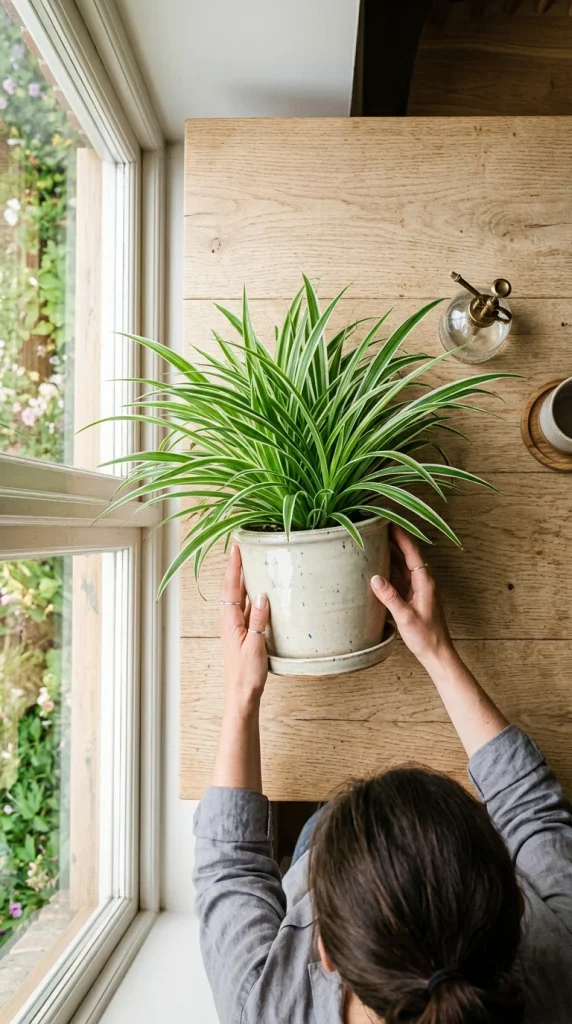
Plants are naturally phototropic, meaning they grow toward their light source. If you leave your spider plant in the same position for months, it will eventually become “lopsided,” with all the lush growth facing the window and a sparse, balding back side. To maintain a full, symmetrical 360-degree shape, give your pot a quarter-turn every time you water it. This ensures that every leaf gets its fair share of photosynthesis, leading to a much more aesthetically pleasing, bushy plant.
14. Dusting Foliage
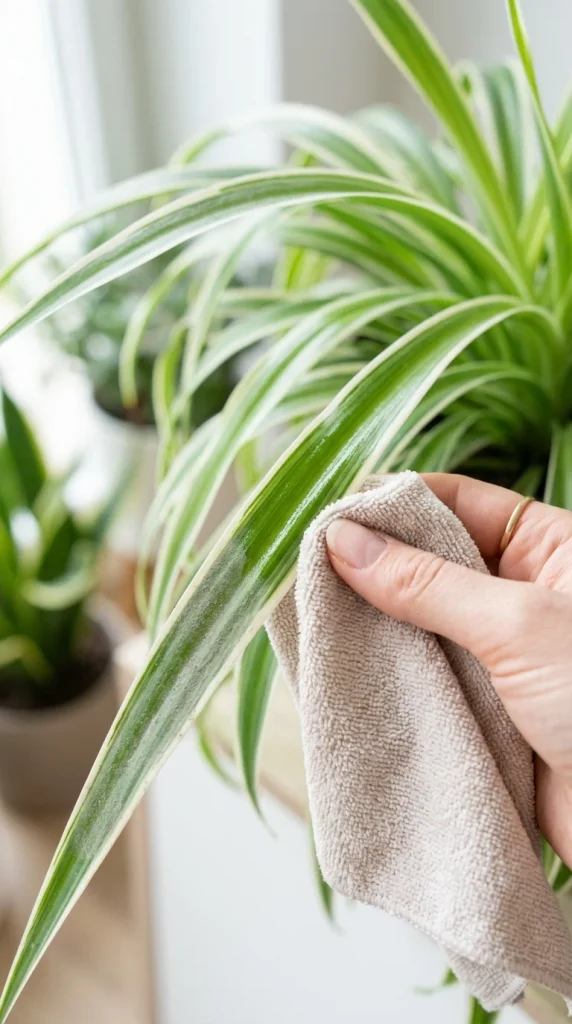
In an indoor environment, dust quickly settles on the long, flat surfaces of spider plant leaves. This isn’t just an aesthetic issue; a layer of dust acts as a barrier, blocking sunlight and clogging the stomata (pores) through which the plant breathes. Once a month, take a soft, damp cloth and gently wipe down the leaves. For larger plants, you can place them in the shower and give them a lukewarm “rain bath.” This not only cleans the leaves but also hydrates the plant and helps deter pests like spider mites.
15. Winter Rest
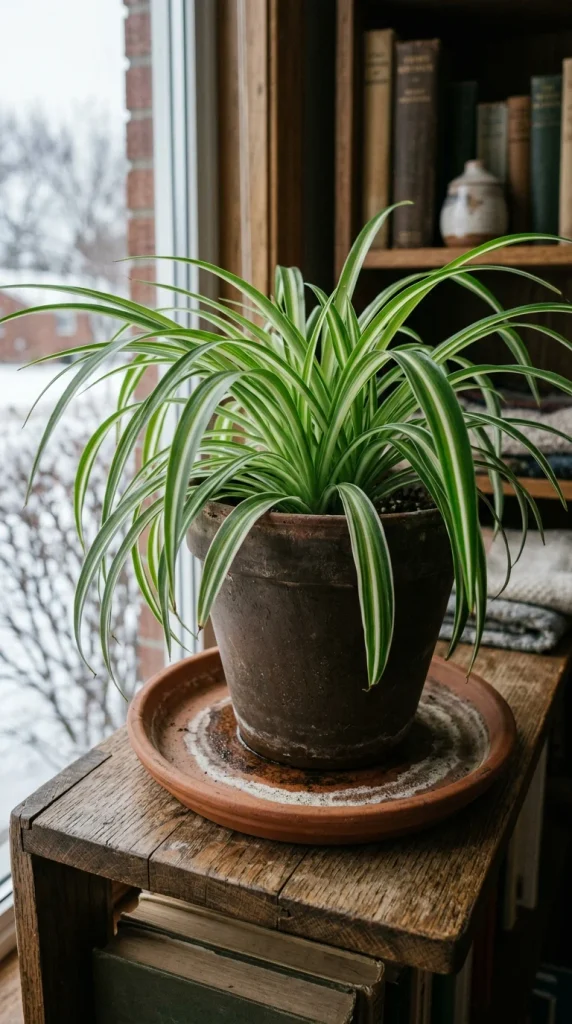
It is important to recognize that spider plants have a natural cycle. During the short days of winter, the plant enters a period of dormancy or slowed growth. During this time, its metabolic needs drop significantly. To keep your plant healthy, you must respect this “rest” period. Reduce your watering frequency significantly—only watering when the soil is almost entirely dry. Stop all fertilizing, as the plant cannot process the nutrients and they will only build up in the soil. By allowing your spider plant to rest in the winter, you are setting the stage for a massive “spring forward” of new growth and spiderettes when the light returns.