
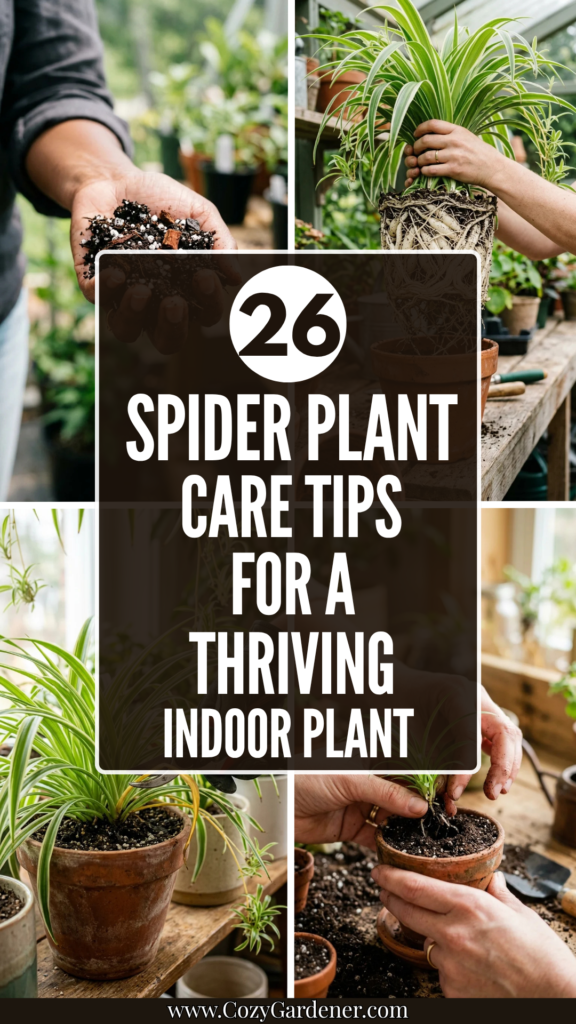
The Spider Plant (Chlorophytum comosum) is a staple of the indoor gardening world for a reason. Its arching leaves and tiny “plantlets” that dangle like miniature stars make it a visual delight. However, while they are known for being “indestructible,” there is a significant difference between a spider plant that is merely surviving and one that is truly thriving. To help you achieve the latter, here are 26 expert tips to master the art of spider plant care.
1. Indirect Light
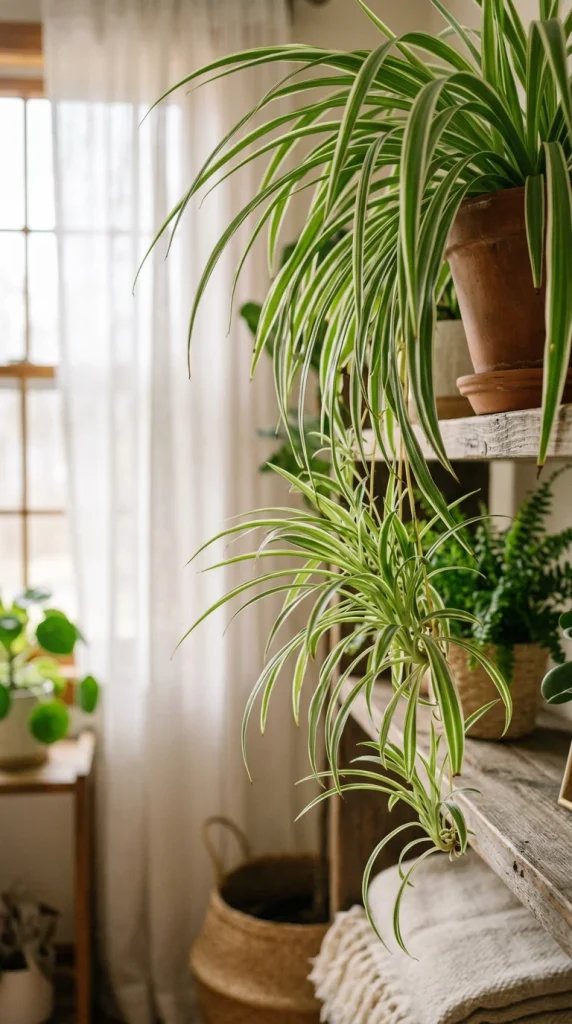
Spider plants thrive in bright, indirect sunlight. While they can tolerate lower light conditions, their growth will slow significantly, and variegated varieties may lose their white stripes, turning solid green to maximize chlorophyll production. Avoid placing them in direct midday sun, as the intense UV rays can scorch the delicate foliage, leaving permanent brown burn marks.
2. Filtered Water
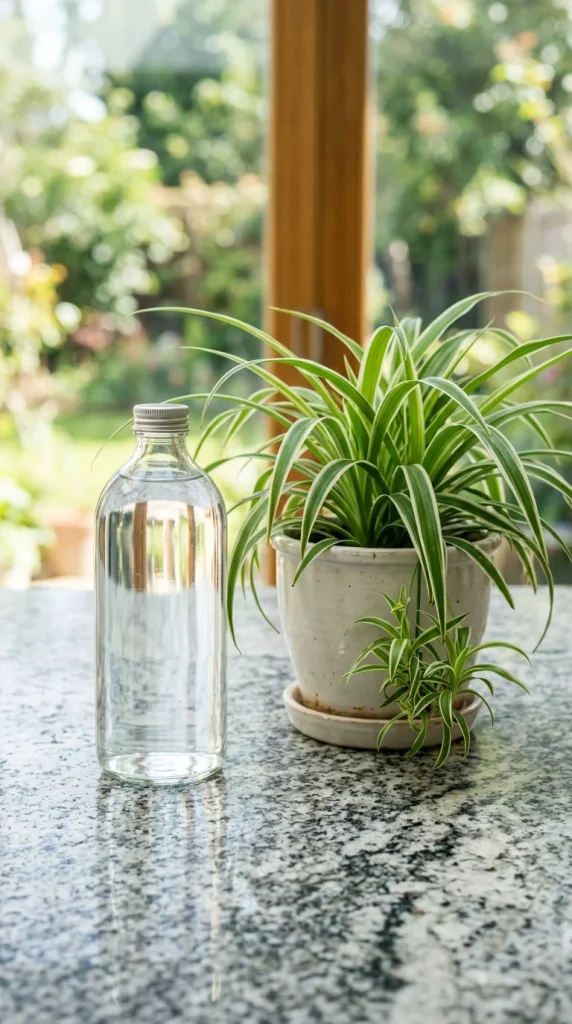
These plants are notoriously sensitive to fluoride and chlorine found in tap water. Over time, these chemicals build up in the leaf tips, causing them to turn brown and crispy. If possible, use rainwater, distilled water, or filtered water. Alternatively, let a jug of tap water sit out for 24 hours to allow some of the chlorine to dissipate before watering.
3. Drainage Holes
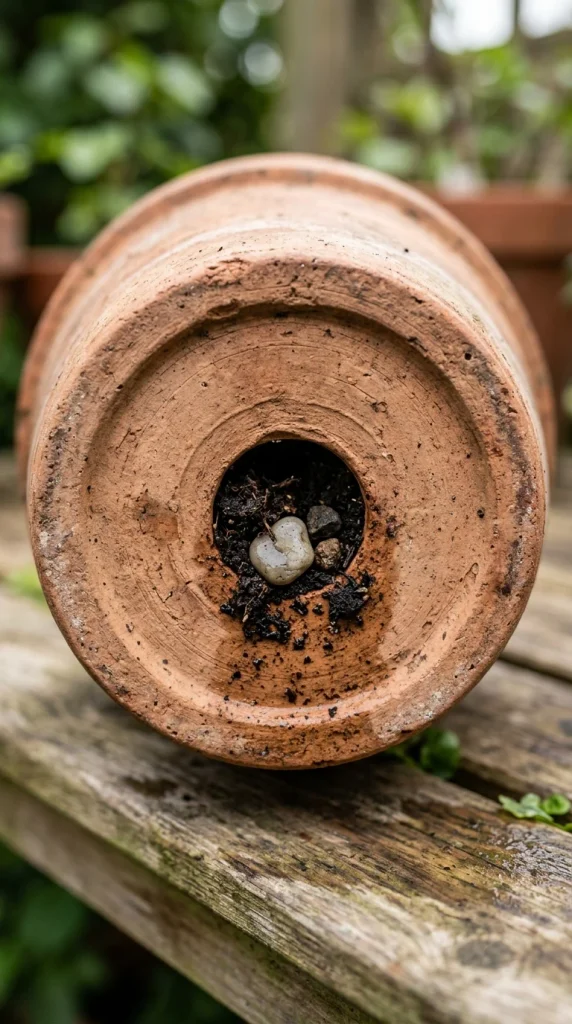
Never let a spider plant sit in “wet feet.” Root rot is the fastest way to kill this resilient species. Ensure your pot has ample drainage holes at the bottom. If you find a decorative “cachepot” you love that lacks holes, keep the plant in a plastic nursery liner inside the decorative pot and remove it when watering to let excess liquid drain away.
4. Well-Draining Soil
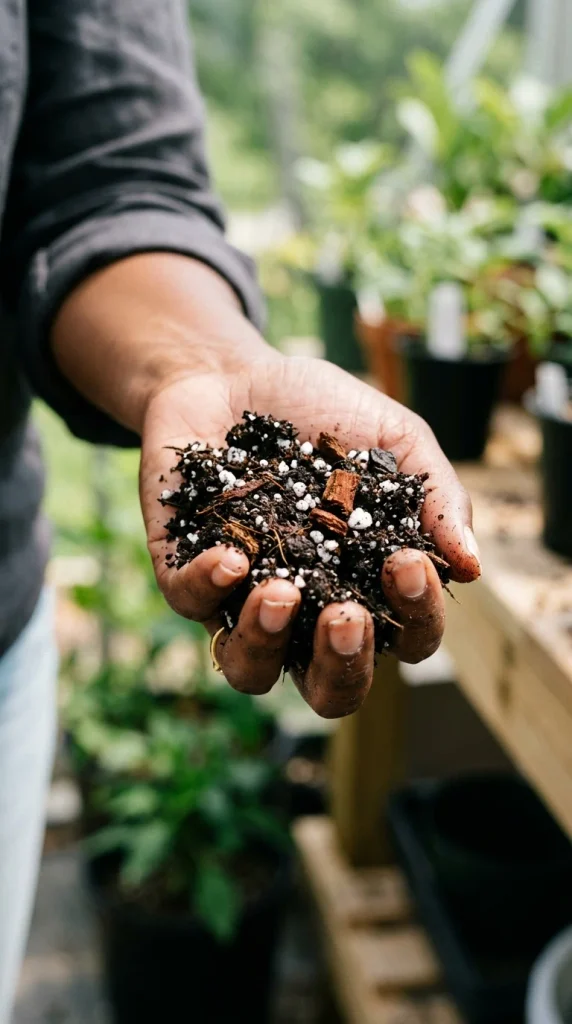
The ideal soil for a spider plant is a lightweight, loamy mix. A standard high-quality indoor potting soil usually works well, but adding a handful of perlite or orchid bark can improve aeration. This ensures that the roots can breathe and that water moves through the medium quickly rather than compacting around the root ball.
5. Room Temperature
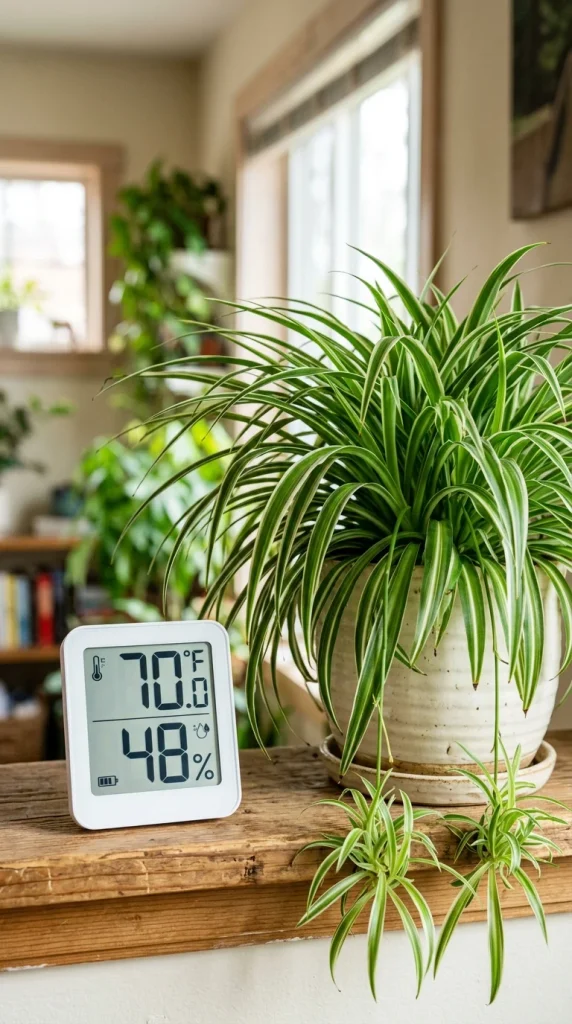
Spider plants are most comfortable in the same temperatures humans enjoy—between 60°F and 75°F (15°C to 24°C). They are quite hardy but will struggle if temperatures drop below 50°F (10°C). Keep them away from cold drafts near windows in the winter and away from direct blasts from air conditioning vents or heaters.
6. Humidity Boost
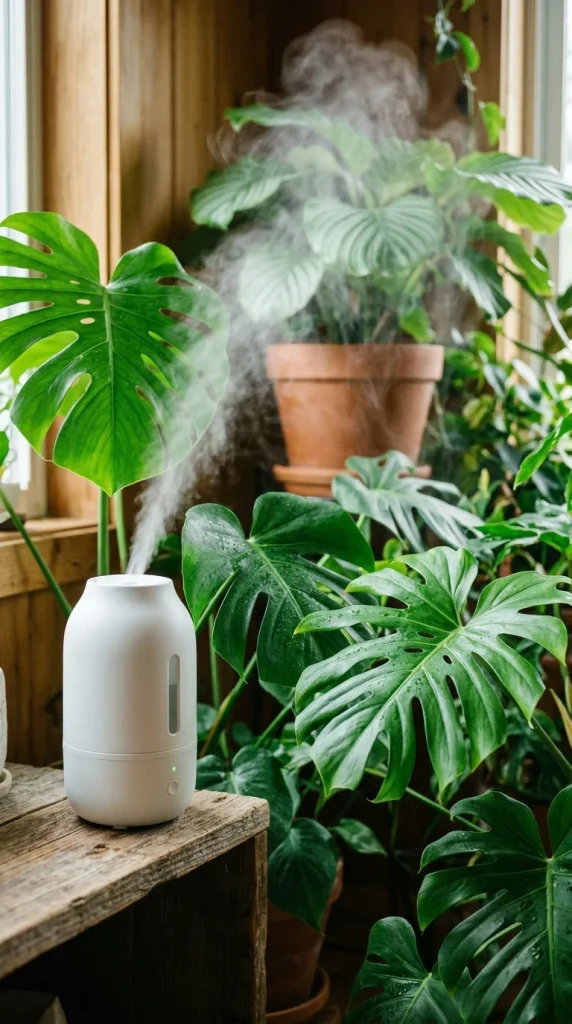
While they tolerate average home humidity, spider plants appreciate a bit of extra moisture in the air, especially during the dry winter months. You can group them with other plants to create a microclimate, place them on a pebble tray filled with water, or use a humidifier. This helps prevent the leaf tips from drying out.
7. Spiderettes (Babies)
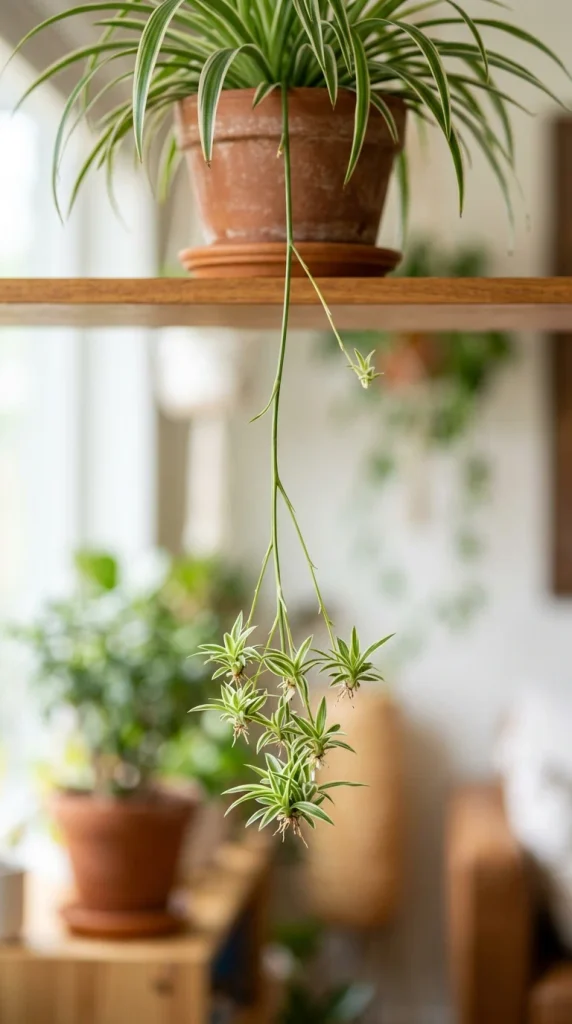
One of the most charming features of this plant is the “spiderettes” or babies that grow on long runners. These runners usually appear when the plant is slightly root-bound or reaching maturity. If you want more babies, avoid pruning these runners. If you want the mother plant to focus all its energy on its own foliage, you can snip them off.
8. Propagation Methods
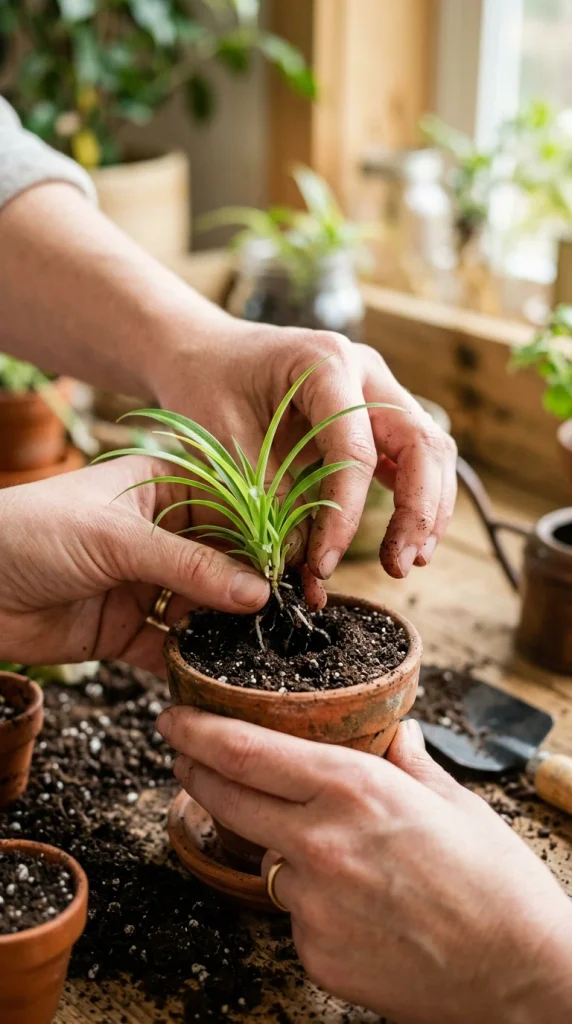
Propagating spider plants is incredibly easy. You can snip off a “baby” that has developed small root nubs at its base and place it directly into a small pot of moist soil. Alternatively, you can let the baby hover over a jar of water until roots grow to an inch long before potting. They take root remarkably fast.
9. Fertilizing Schedule
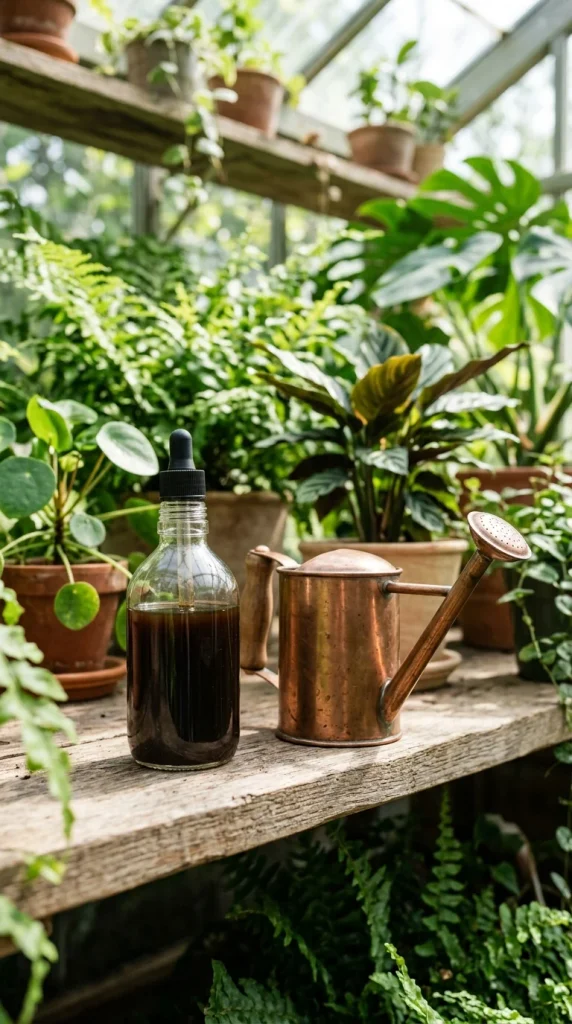
During the growing season (spring and summer), feed your spider plant once a month with a balanced, water-soluble fertilizer diluted to half-strength. Be careful not to over-fertilize, as an excess of salts in the soil can lead to brown leaf tips and potentially damage the roots. Suspend feeding entirely during the dormant winter months.
10. Brown Tips
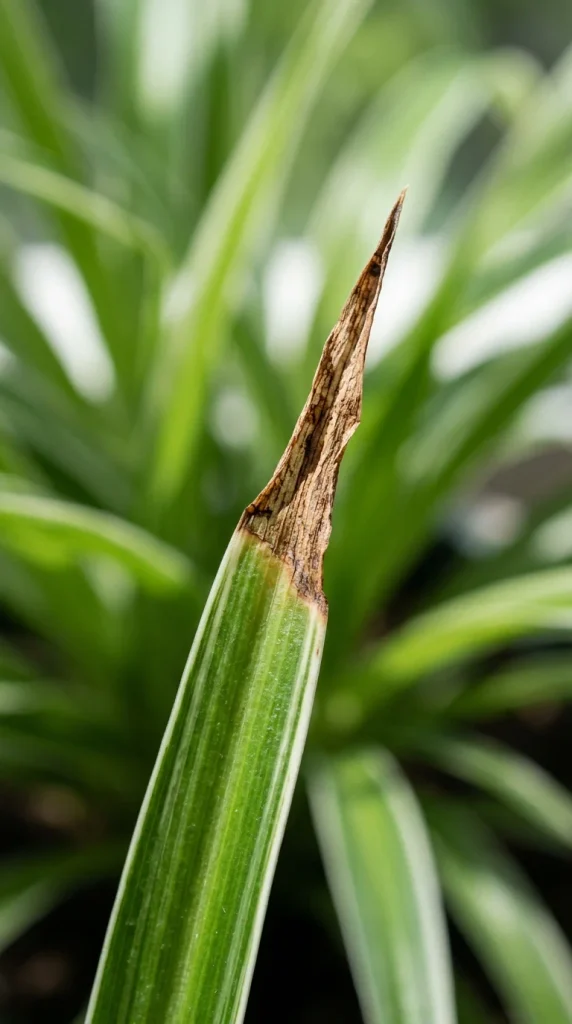
Brown tips are the most common complaint among spider plant owners. They are usually caused by three things: chemical buildup from tap water, inconsistent watering, or low humidity. If the tips bother you aesthetically, you can trim them off with sharp scissors, following the natural pointed shape of the leaf.
11. Pruning Rituals
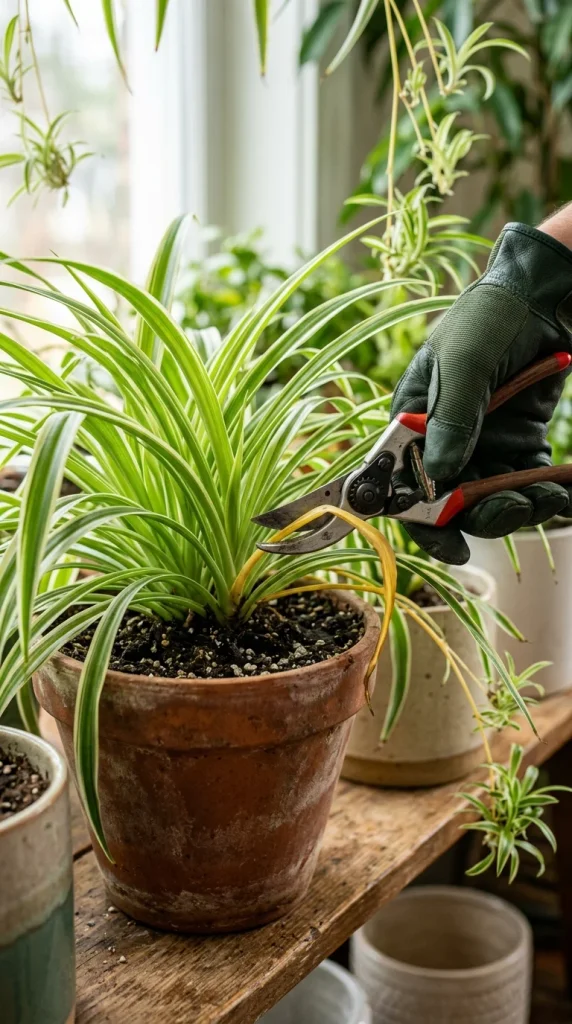
Don’t be afraid to prune your plant. Removing dead, yellow, or damaged leaves at the base encourages the plant to direct energy toward new, healthy growth. Always use clean, sterilized scissors or shears to prevent the spread of any potential pathogens.
12. Potting Sizes
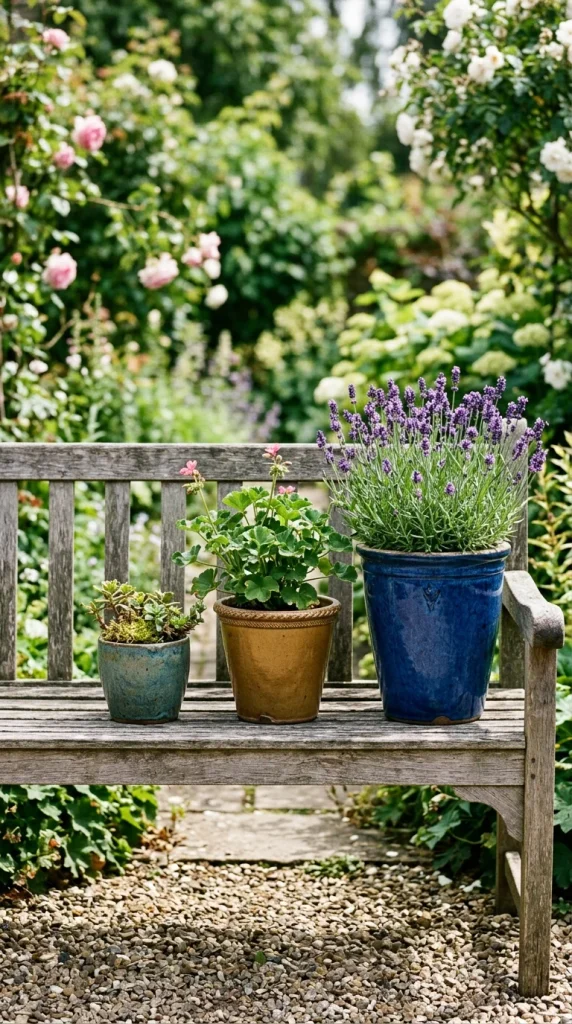
Spider plants actually enjoy being a little bit snug in their pots; this stress often triggers the production of flowers and babies. However, if the roots start pushing the plant up out of the soil or the plant requires watering every single day, it is time to move up one pot size—typically 1-2 inches wider in diameter.
13. Winter Care
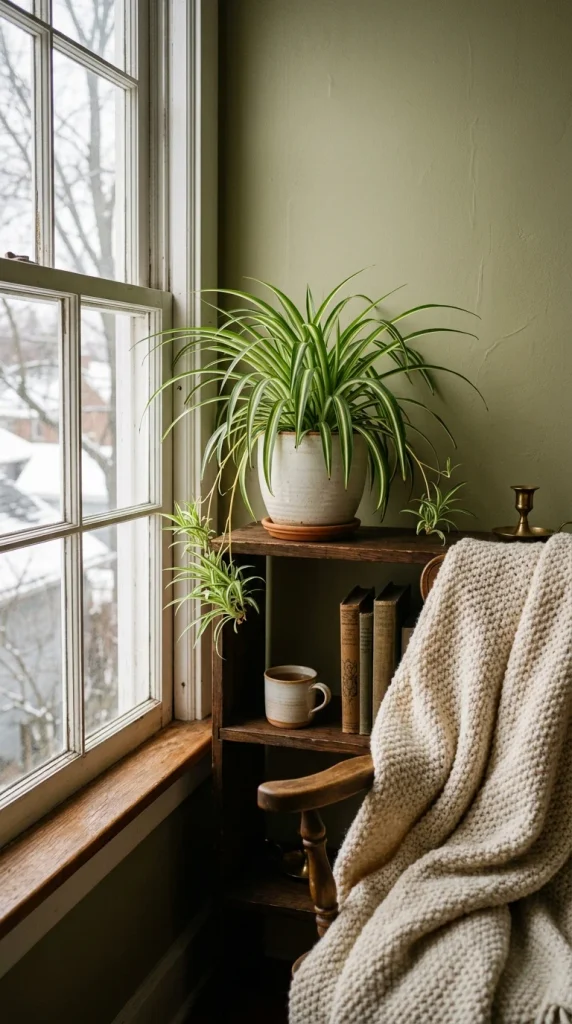
In the winter, the plant’s metabolism slows down. Reduce your watering frequency, allowing the soil to dry out more than you would in the summer. Stop fertilizing until the first signs of spring growth appear. Also, ensure the plant isn’t touching a freezing cold window pane, which can cause leaf collapse.
14. Variegation Maintenance
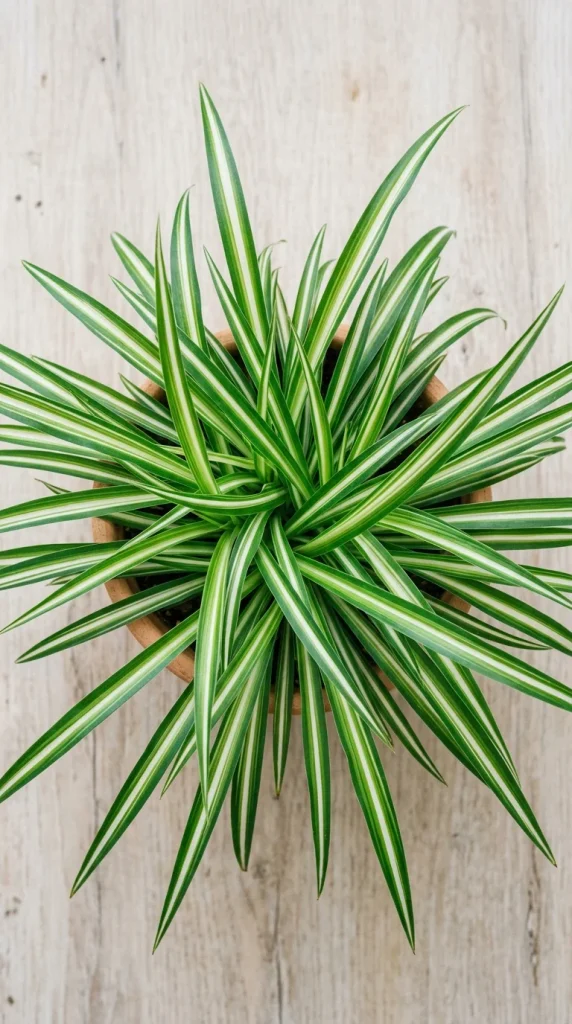
To keep the white stripes bright and crisp, ensure the plant gets enough light. If a spider plant is kept in too much shade, it may produce more chlorophyll to compensate for the lack of light, causing the white parts of the leaves to fade or turn green.
15. Pests Identification
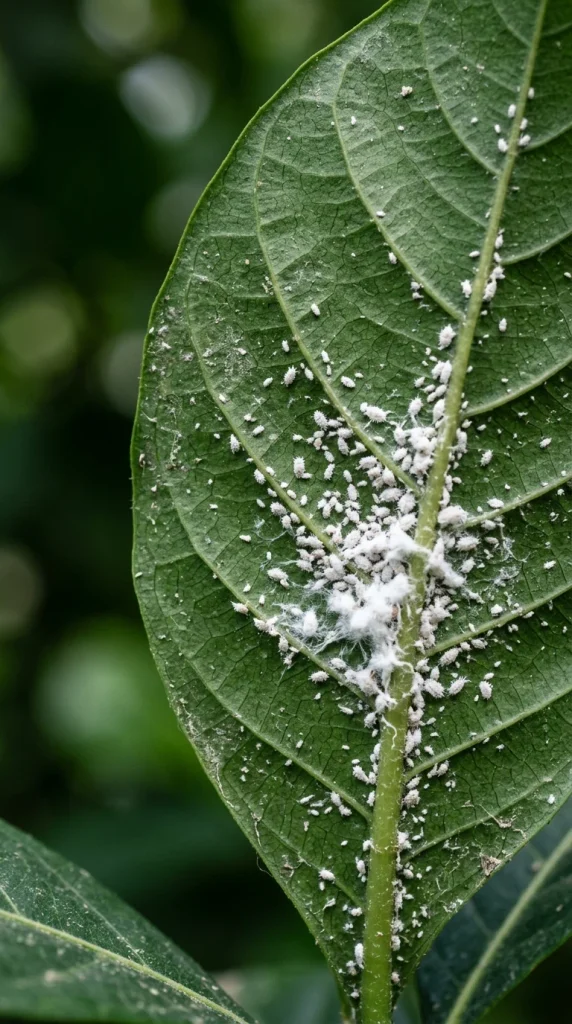
Spider plants are generally pest-resistant, but they can occasionally attract spider mites, aphids, or mealybugs. Check the undersides of leaves and the center “nooks” regularly. If you spot pests, treat the plant with insecticidal soap or neem oil, and isolate it from your other plants to prevent the spread.
16. Rotating Pots
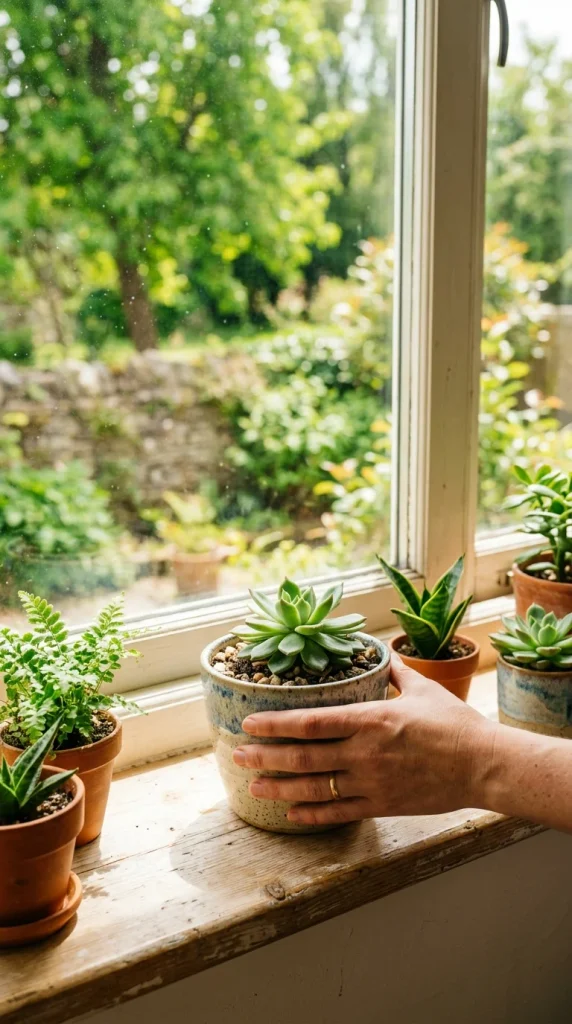
Because spider plants grow toward the light, they can become lopsided over time. Every time you water your plant, give the pot a quarter-turn. This ensures that all sides of the plant receive equal light exposure, resulting in a full, symmetrical, and bushy appearance.
17. Cleaning Leaves
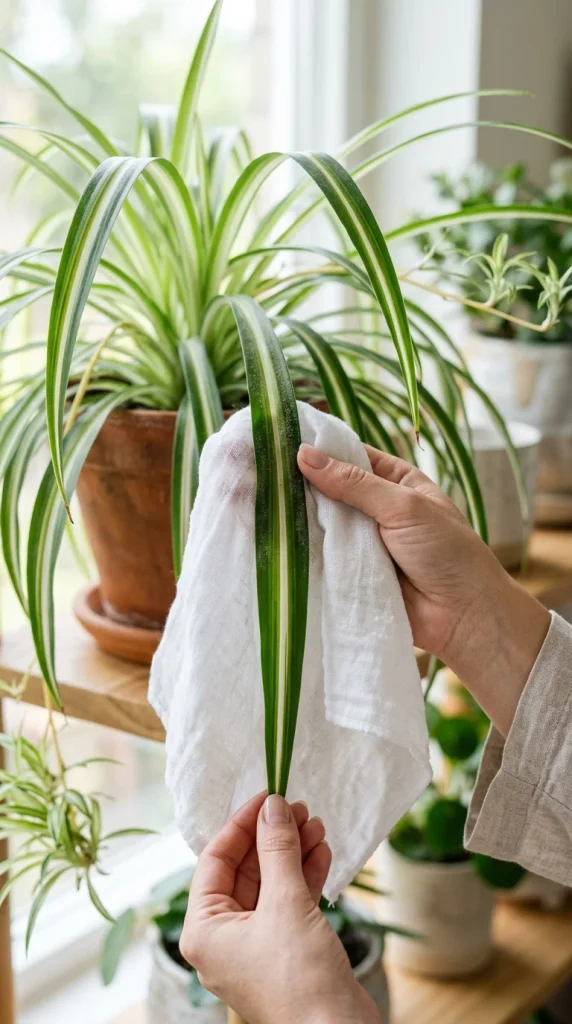
Dust can accumulate on the long leaves, blocking sunlight and hindering the plant’s ability to photosynthesize. Once a month, gently wipe the leaves with a damp cloth or give the entire plant a lukewarm “shower” in the sink to wash away dust and any potential pests.
18. Hanging Baskets
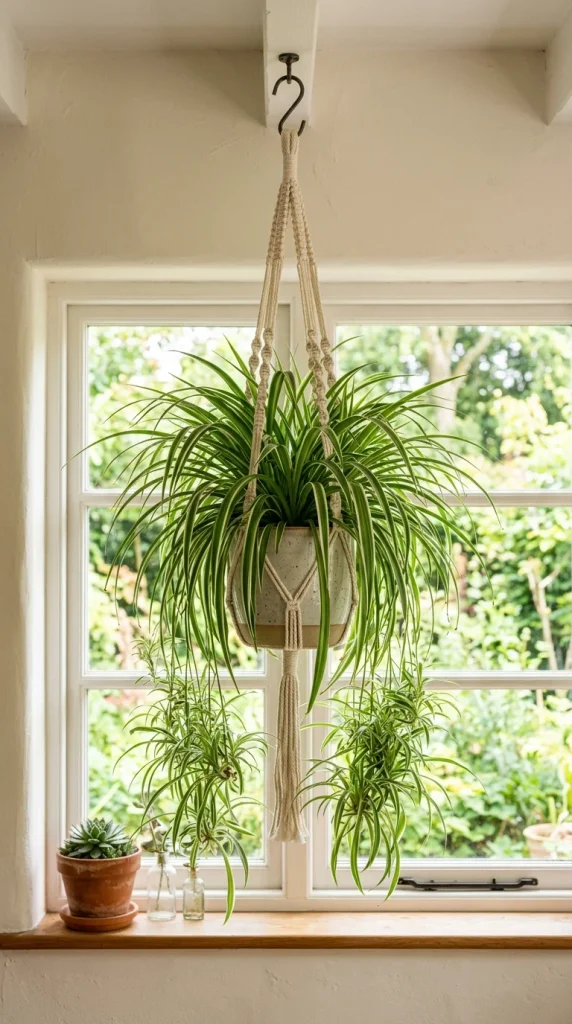
Spider plants are naturally “weeping” plants, making them the perfect candidates for hanging baskets. Suspending them allows the runners and babies to dangle freely, creating a beautiful “fountain” effect. Ensure the hook is securely fastened, as a large, well-watered spider plant can become quite heavy.
19. Air Purification
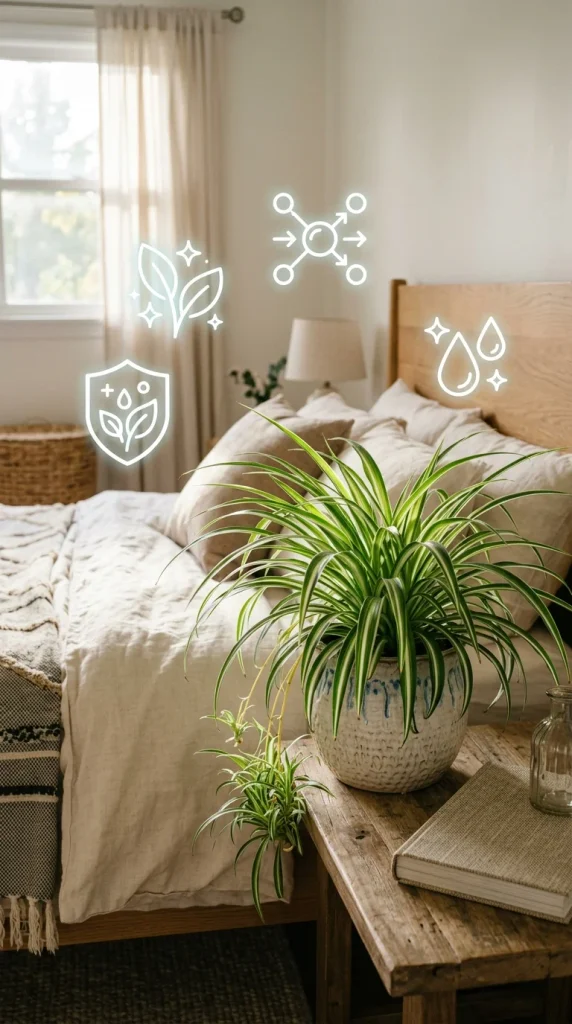
Spider plants are famous for being part of the NASA Clean Air Study. They are exceptionally good at filtering volatile organic compounds (VOCs) like formaldehyde and xylene from the air. Placing one in a home office or bedroom can help improve the air quality of your living space.
20. Pet Safety
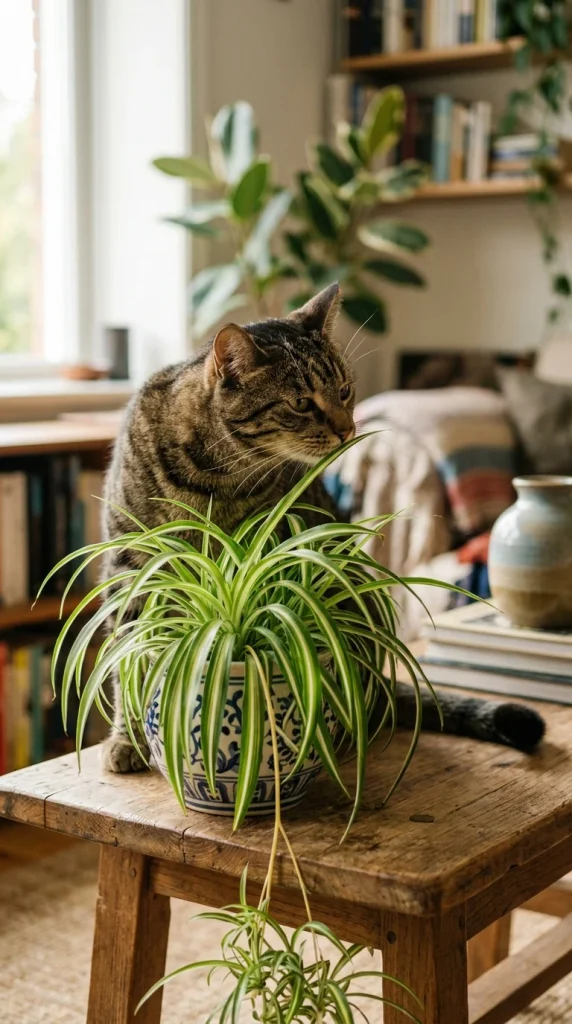
Good news for pet owners: the ASPCA lists the spider plant as non-toxic to both cats and dogs. However, be aware that spider plants contain compounds that are mildly hallucinogenic to cats (similar to catnip). While not dangerous, your cat might find the plant irresistible to chew on, so keep it out of reach if you want to save your foliage!
21. Root Bound Signs
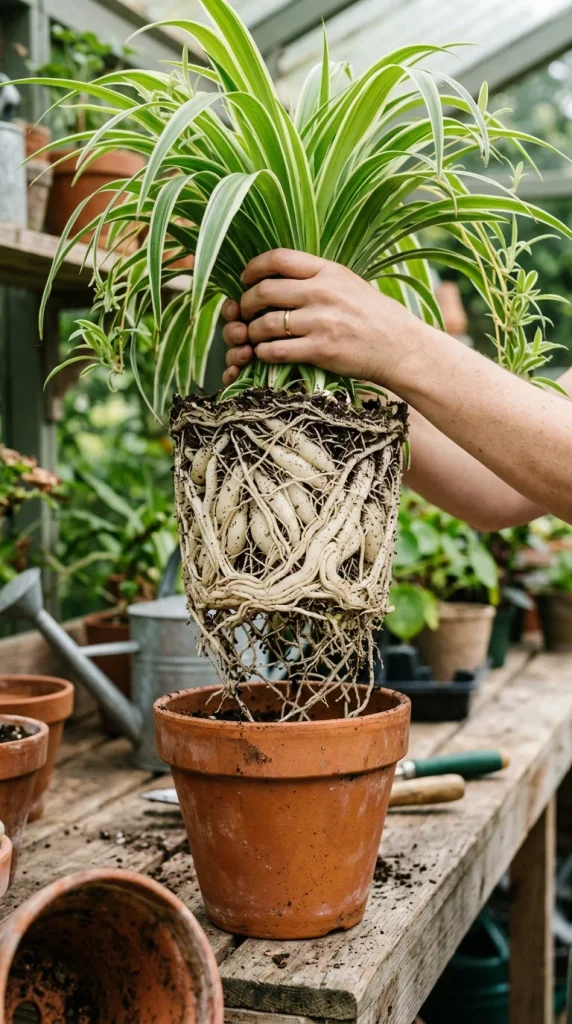
Spider plants have thick, tuberous roots that store water. When they become overly root-bound, these roots can actually crack plastic pots or grow out of the drainage holes. If you see the soil surface being pushed upward or roots circling the top of the pot, it’s definitely time for a transplant.
22. Yellow Leaves
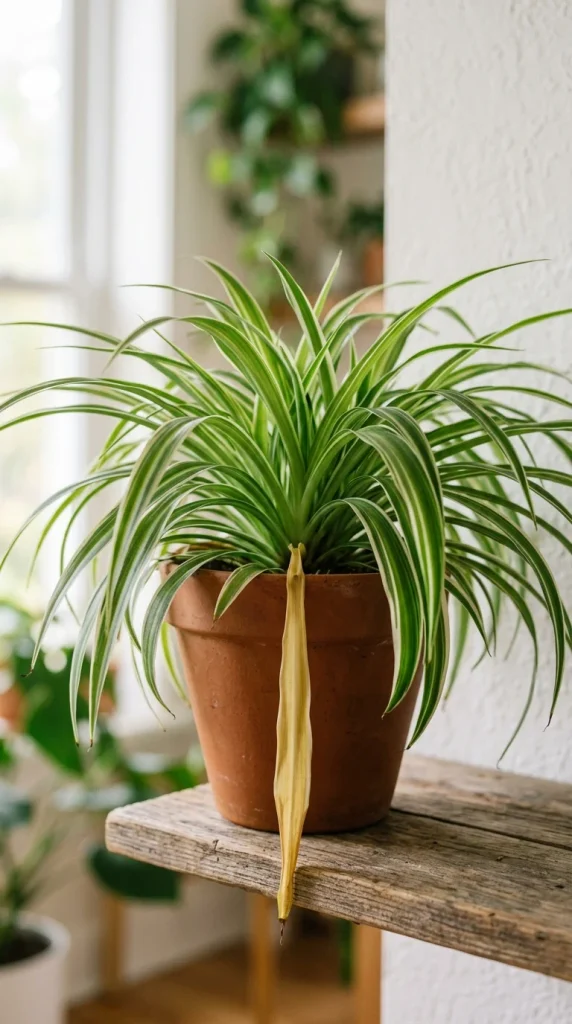
Yellowing leaves are usually a sign of overwatering. If the soil stays soggy for too long, the roots cannot breathe, and the leaves will turn a pale, translucent yellow. Check the soil moisture; if it’s soaking wet, stop watering immediately and let it dry out completely before the next session.
23. Soil pH
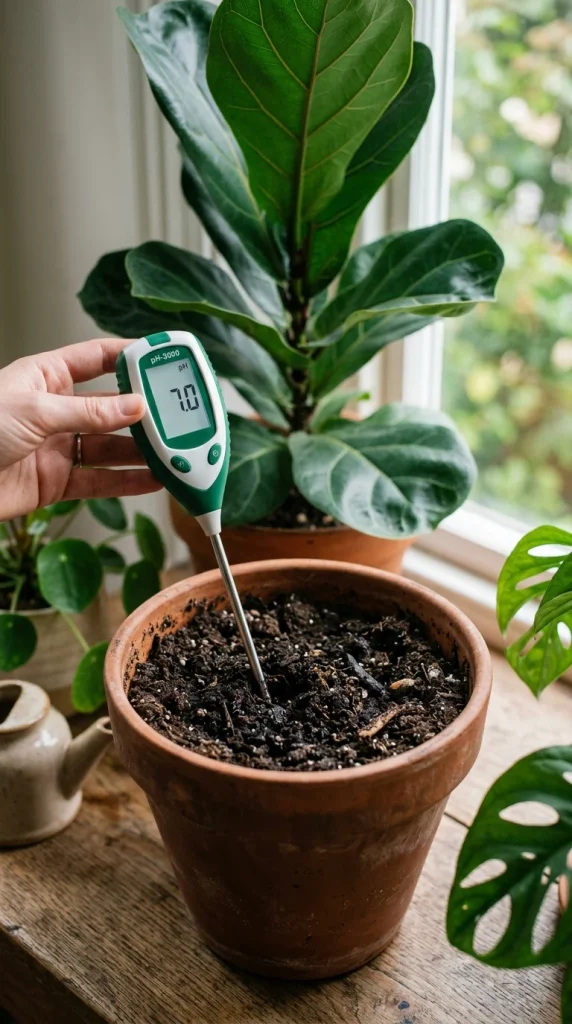
Spider plants prefer a slightly acidic to neutral soil pH, ideally between 6.0 and 7.0. Most commercial potting mixes are designed within this range. If your plant is struggling despite perfect light and water, testing the soil pH can help you determine if a nutrient lockout is occurring.
24. Water Propagation
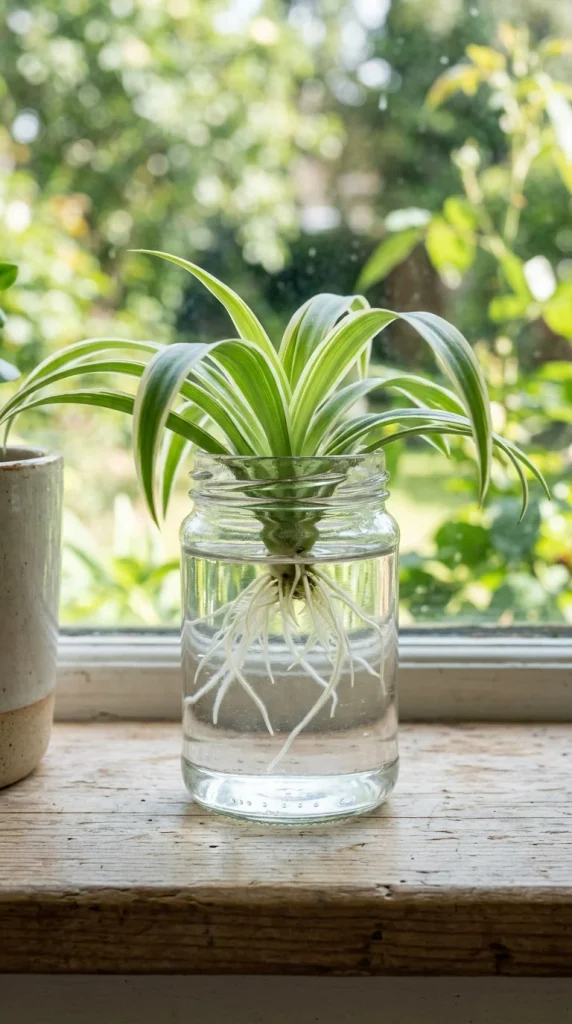
If you choose to propagate in water, change the water every few days to keep it oxygenated and free of algae. Once the roots are about an inch long, transition the baby to soil. Don’t leave it in water too long, as “water roots” are different from “soil roots” and the plant may struggle to adjust if moved later.
25. Repotting Timing
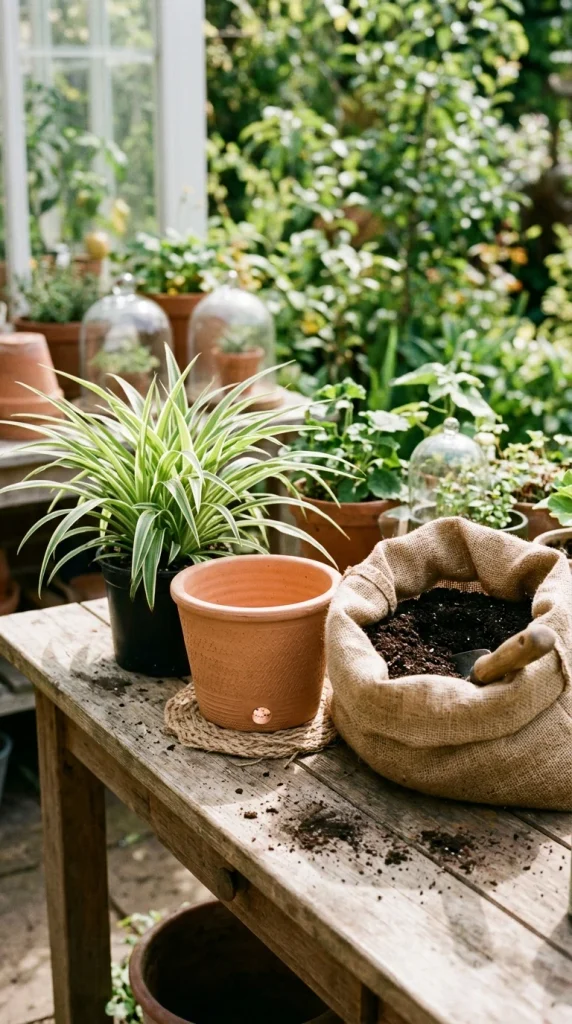
The best time to repot is in the spring, just as the plant enters its most active growth phase. This gives the roots plenty of time to establish themselves in the new soil before the slower winter months. Always water the plant thoroughly a day before repotting to reduce transplant shock.
26. Grouping Plants
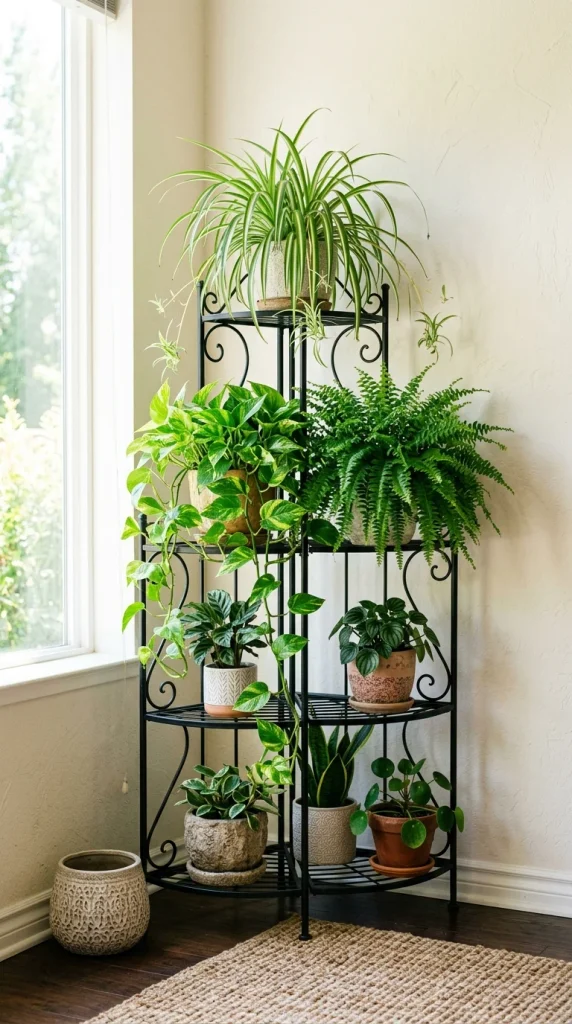
Spider plants love the company of others. Grouping them with other moisture-loving plants like ferns or peace lilies creates a collective humidity zone. This not only makes maintenance easier but also creates a lush, jungle-like aesthetic in your home while helping all the plants thrive through shared transpiration.