
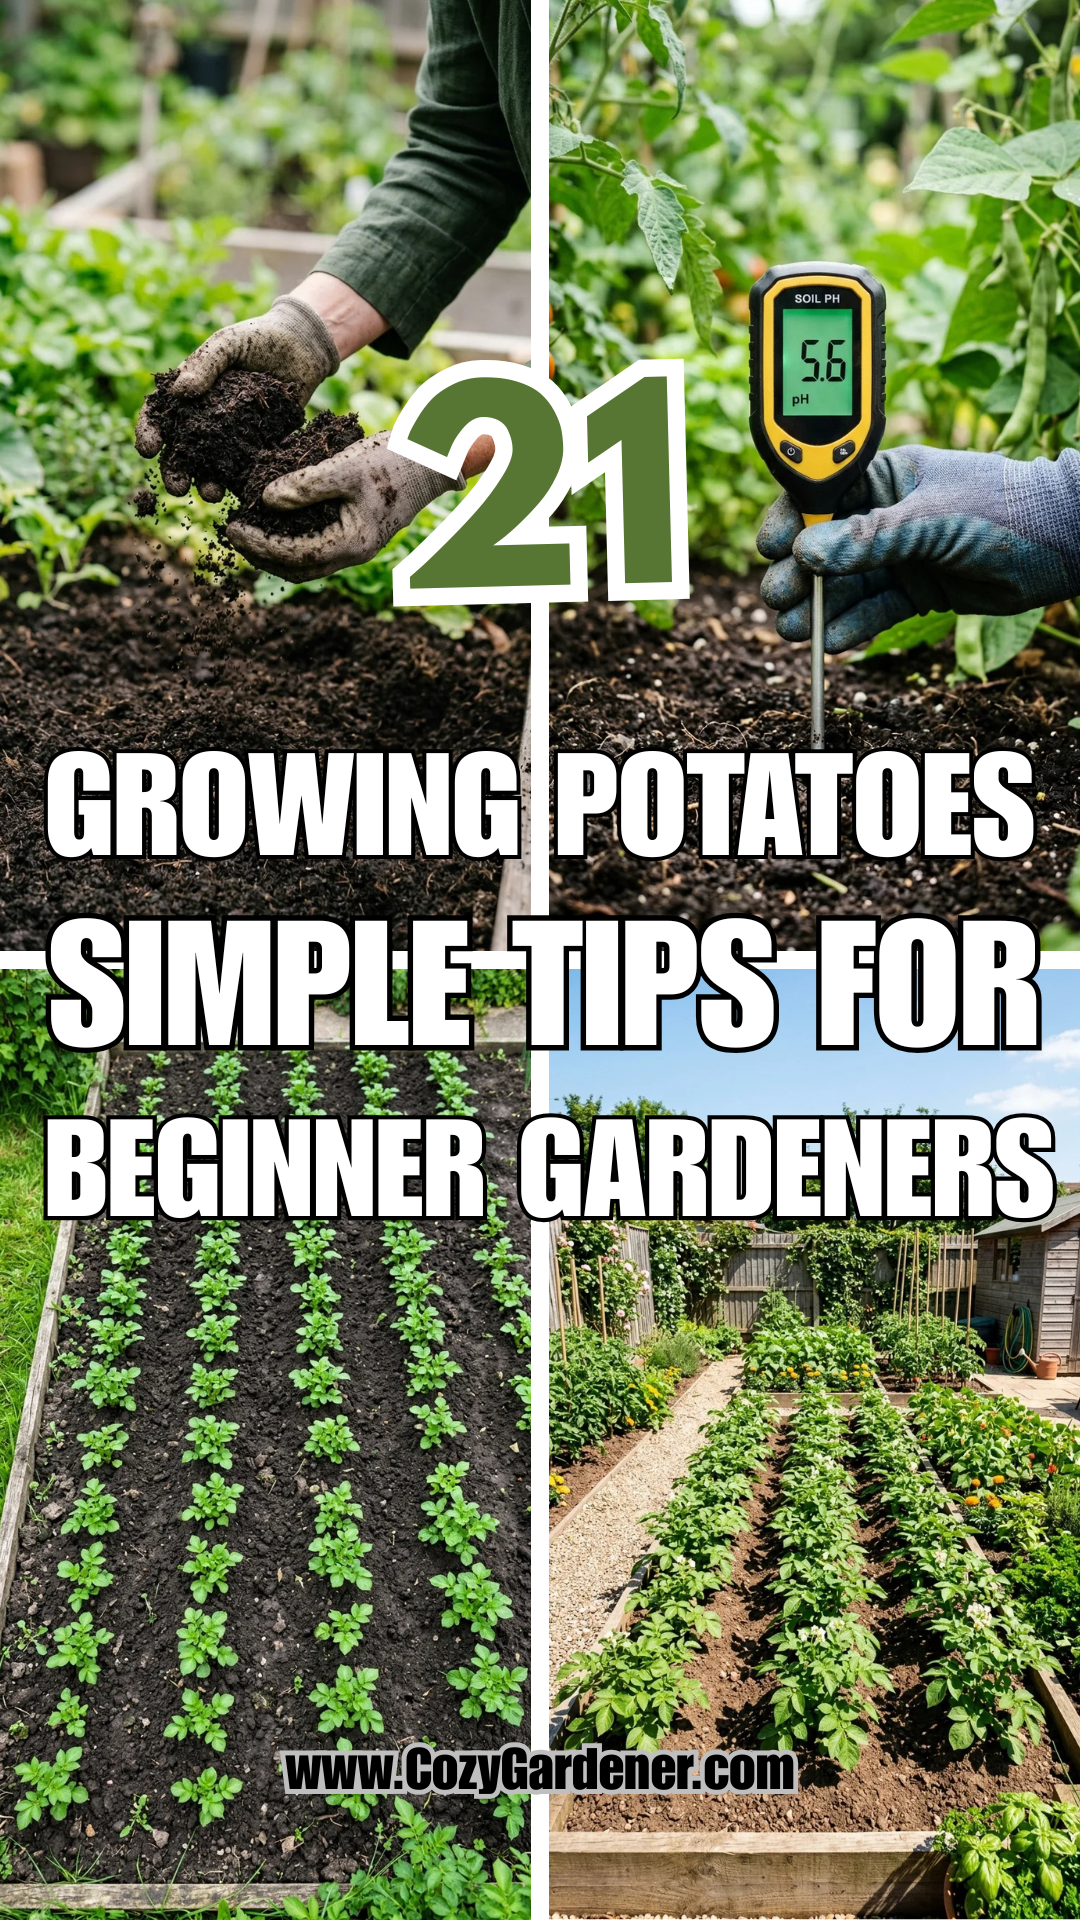
Potatoes are often called the “humble” vegetable, but for a home gardener, they are nothing short of a miracle. There is a profound sense of magic in burying a shriveled piece of tuber in the dirt and, months later, unearthing a treasure trove of golden, red, or purple gems. For beginners, potatoes are one of the most rewarding crops because they are resilient, high-yielding, and far superior in flavor to anything found on a supermarket shelf.
To ensure your first foray into potato gardening is a resounding success, follow these twenty-one essential tips designed to take you from planting to plate with ease.
1. Seed Potatoes
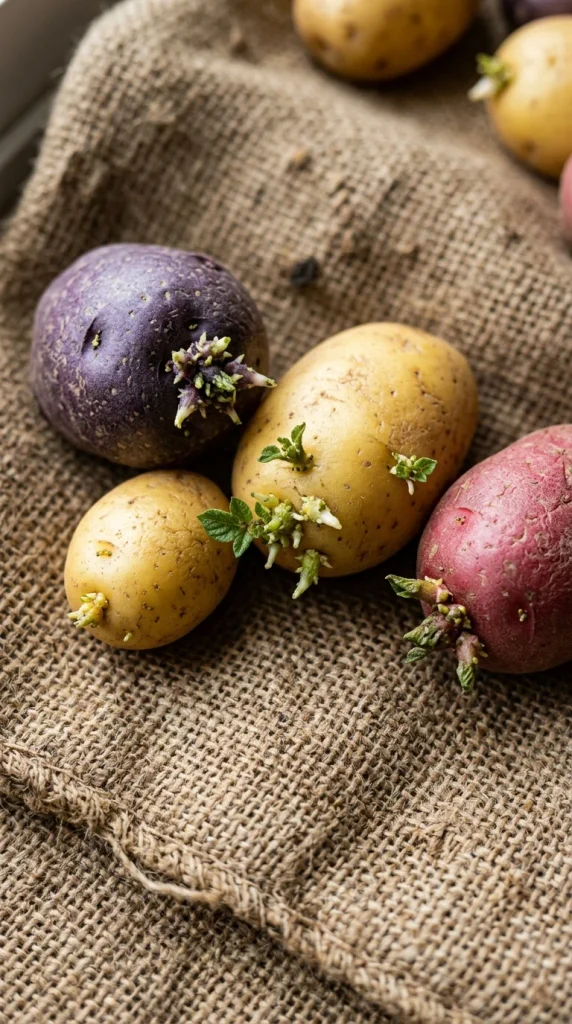
The foundation of a great harvest starts with the right “seed.” While it is tempting to plant a sprouted potato from your pantry, grocery store potatoes are often treated with growth inhibitors to prevent sprouting and may carry soil-borne diseases. Instead, purchase certified disease-free seed potatoes from a reputable nursery. These are specifically grown to ensure they are healthy and ready to produce a vigorous crop.
2. Chitting Process
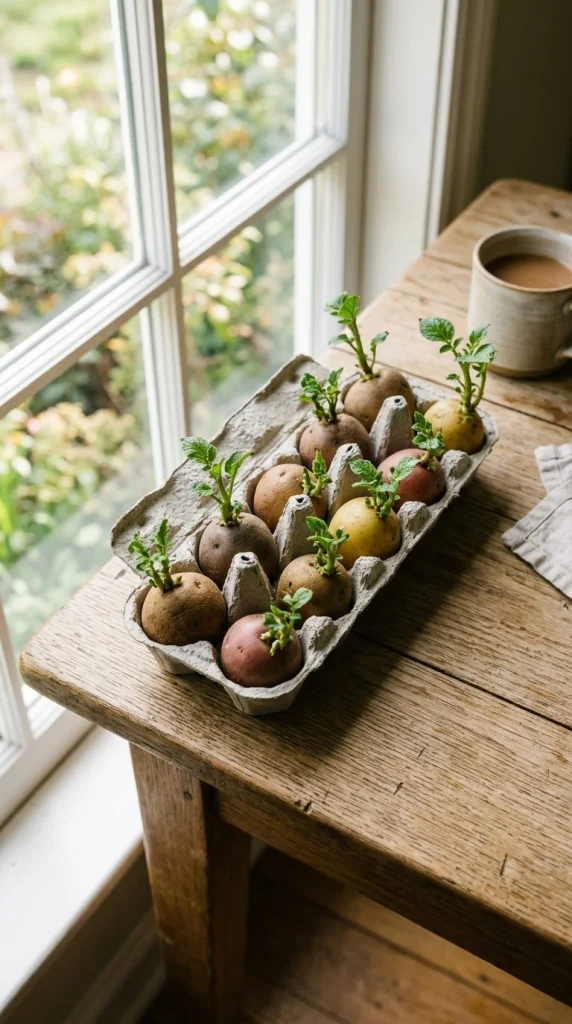
“Chitting” is simply the process of encouraging your potatoes to sprout before they go into the ground. About four weeks before your planting date, place your seed potatoes in a cool, bright spot (but out of direct midday sun). Setting them in egg cartons with the “eyes” facing up helps them develop strong, green shoots. This gives the plants a head start, leading to an earlier harvest and stronger plants.
3. Selecting Varieties
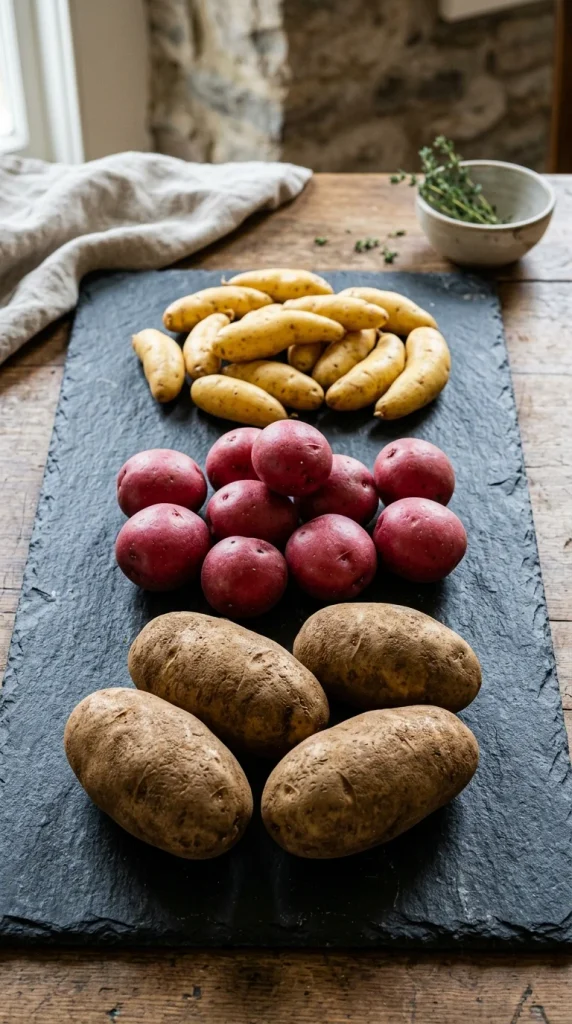
Not all potatoes are created equal. As a beginner, it’s helpful to understand the three main categories: First Earlies, Second Earlies, and Maincrops. First Earlies grow quickly and are perfect for small spaces or containers. Maincrops take longer to mature but produce larger tubers that are ideal for winter storage. Consider what you like to eat—waxy potatoes for salads or floury potatoes for mashing—and choose your variety accordingly.
4. Sunny Location
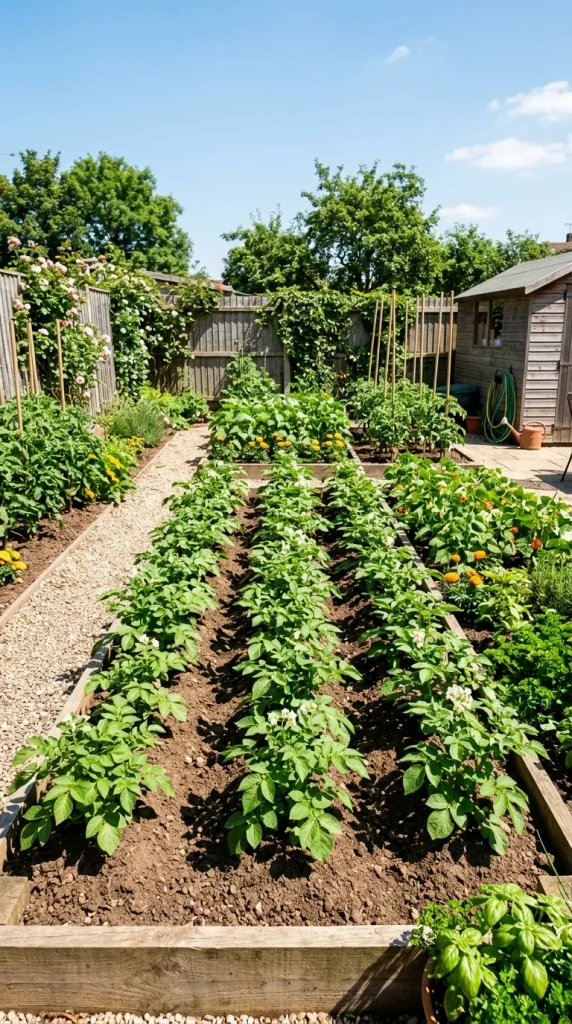
Potatoes are sun worshippers. To produce the energy needed to grow large tubers underground, the leaves need maximum sunlight. Choose a spot in your garden that receives at least six to eight hours of direct sunlight every day. Poor light leads to “leggy” plants with thin stems and a disappointing harvest of tiny potatoes.
5. Loose Soil
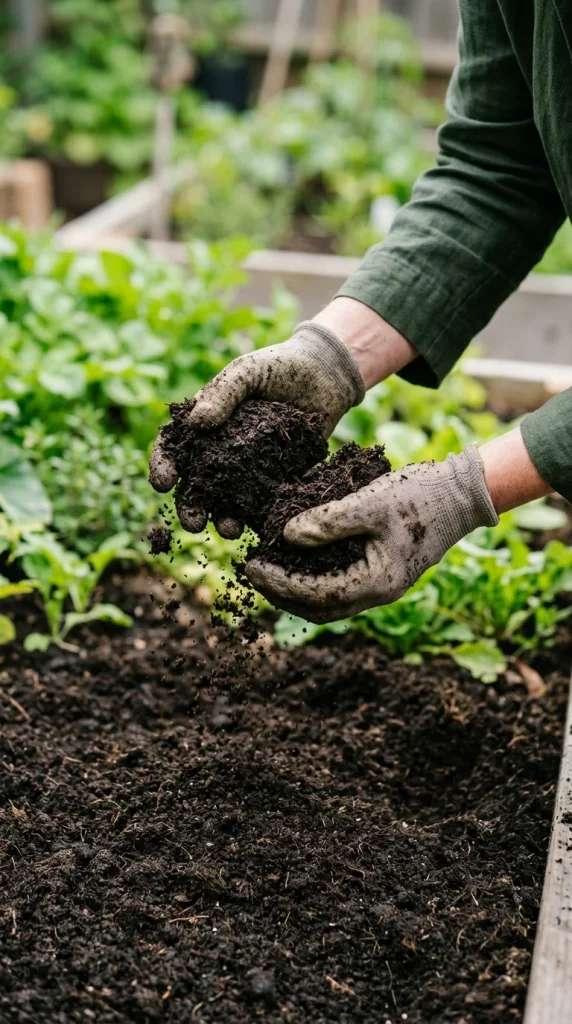
The secret to smooth, well-shaped potatoes is loose, friable soil. If the soil is too compacted or rocky, the tubers will struggle to expand and may become misshapen. Before planting, work the soil to a depth of about 12 inches, removing large stones and breaking up heavy clumps. Adding well-rotted compost can significantly improve soil structure.
6. Soil pH
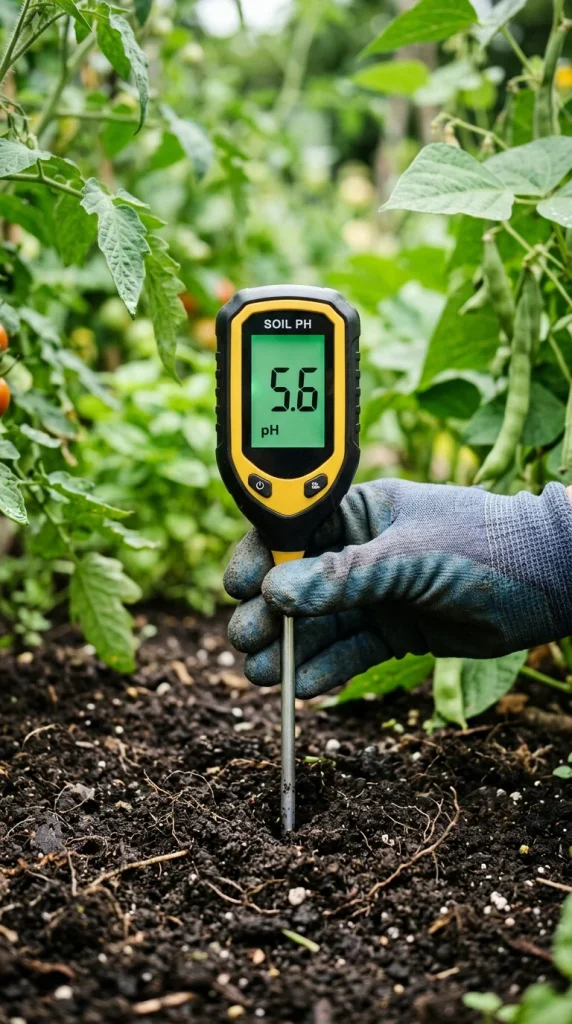
Potatoes prefer slightly acidic soil. A pH between 5.0 and 6.0 is the “sweet spot” for these tubers. If your soil is too alkaline, your potatoes are more likely to develop “scab,” a common disease that causes rough, corky patches on the skin. While scab is mostly cosmetic and the potatoes are still edible, keeping the pH slightly acidic ensures a cleaner, prettier harvest.
7. Planting Time
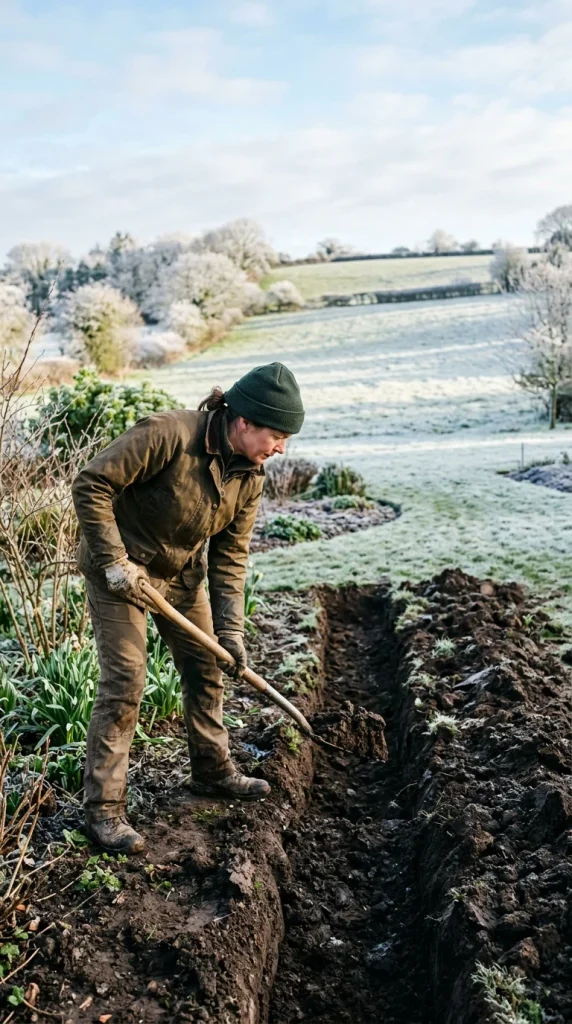
Timing is everything. Potatoes should be planted in the spring, usually about two to four weeks before the last expected frost date. The soil should be workable and not waterlogged. If the soil is too cold and wet, the seed potatoes may rot before they have a chance to grow. A good rule of thumb is to wait until the soil temperature reaches at least 45°F (7°C).
8. Cutting Tubers
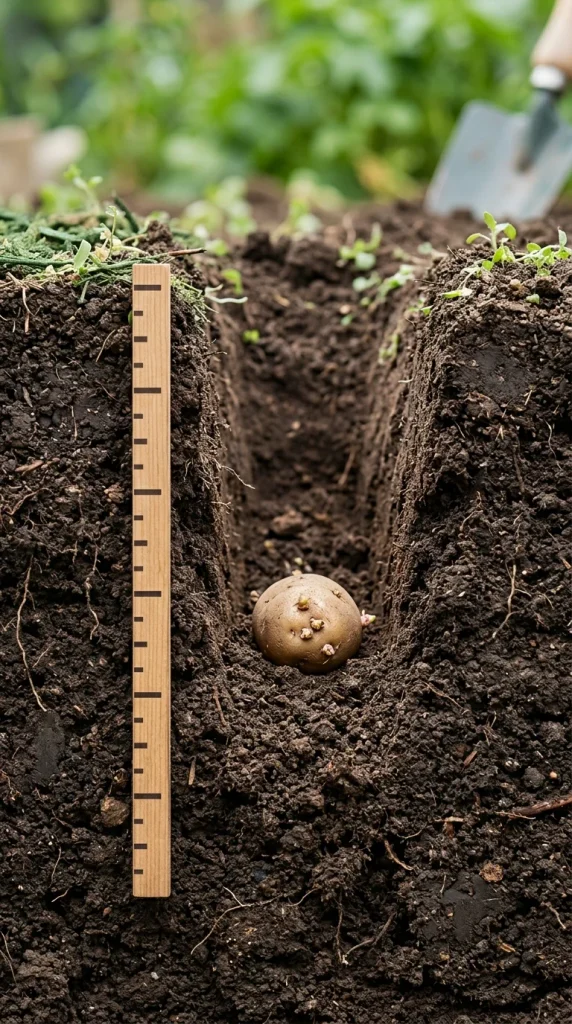
If your seed potatoes are larger than a golf ball, you can cut them into multiple pieces to increase your yield. Each piece must have at least one or two “eyes” (the spots where sprouts grow). After cutting, let the pieces sit at room temperature for 24 to 48 hours to “callous” over. This protective layer prevents the potato from rotting once it’s buried in the damp earth.
9. Planting Depth
The depth at which you plant is crucial for protecting the developing tubers. Dig a trench about 4 to 6 inches deep. Place your seed potatoes (or pieces) at the bottom with the sprouts facing upward. Cover them with about 2 or 3 inches of soil initially, leaving the rest of the trench to be filled in as the plant grows taller.
10. Spacing Rows
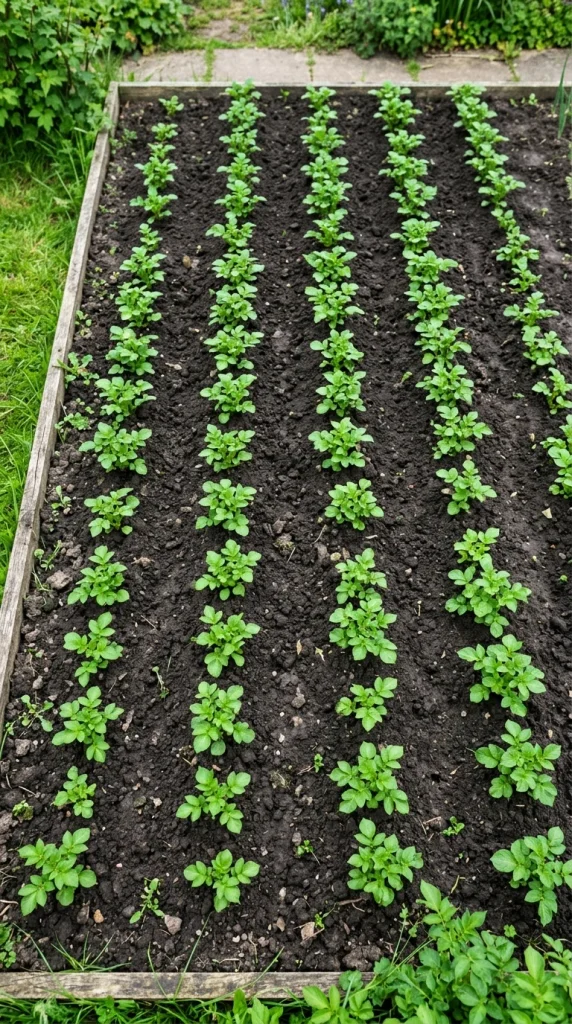
Potatoes need their personal space. Crowding them leads to competition for nutrients and water, which results in smaller potatoes. Space your seed potatoes about 12 inches apart within the row. If you are planting multiple rows, leave about 30 to 36 inches between the rows to allow enough room for “hilling” later in the season.
11. Container Gardening
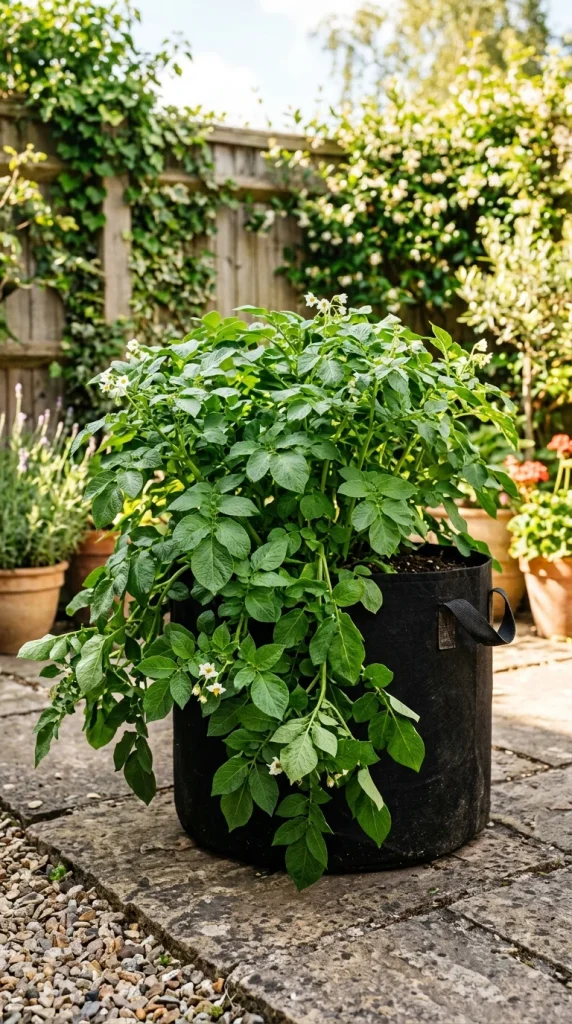
You don’t need a massive backyard to grow potatoes. They thrive in containers, 5-gallon buckets, or specialized fabric grow bags. This is an excellent option for beginners because it offers total control over the soil quality and makes harvesting incredibly easy—simply tip the bag over when the season is done. Just ensure your container has excellent drainage holes.
12. Hilling Method
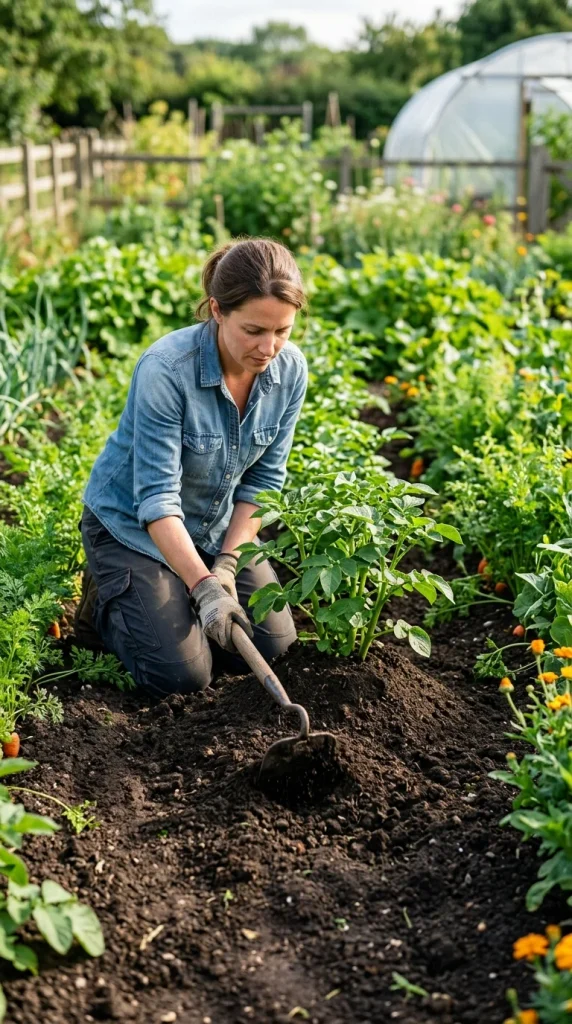
As the potato plant grows, you must perform a task called “hilling” or “earthing up.” When the stems are about 8 inches tall, draw the surrounding soil up around the base of the plant, leaving only the top few inches of leaves exposed. This prevents the developing potatoes from being exposed to sunlight, which turns them green and makes them toxic. Hilling also provides more space for tubers to grow along the buried stems.
13. Consistent Watering
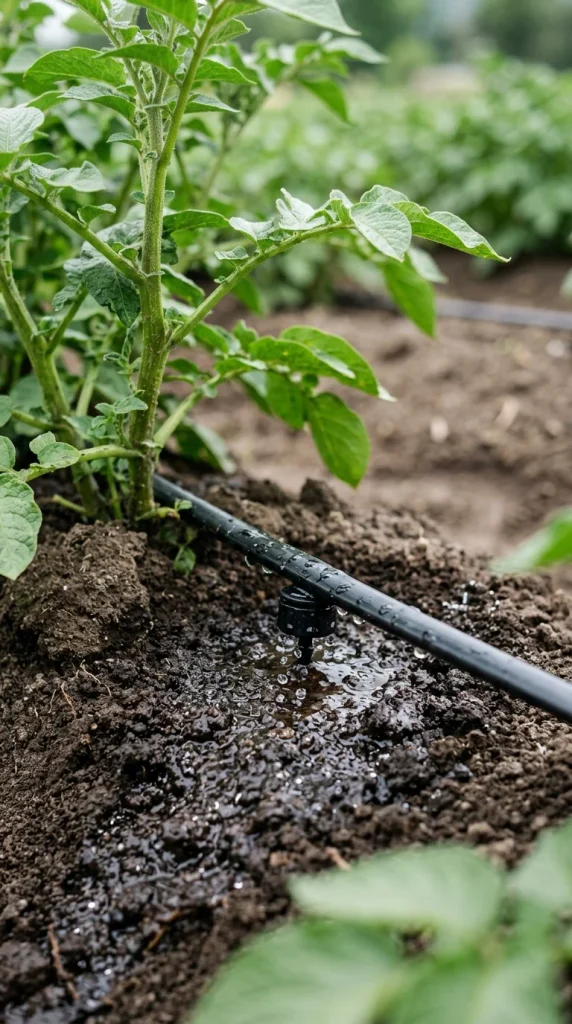
Potatoes need a steady supply of moisture, especially when they are flowering—this is the time when the tubers are actively forming. Aim for about 1 to 2 inches of water per week. Avoid “feast or famine” watering (letting the soil dry out completely and then soaking it), as this can cause the potatoes to crack or develop hollow hearts.
14. Organic Mulch
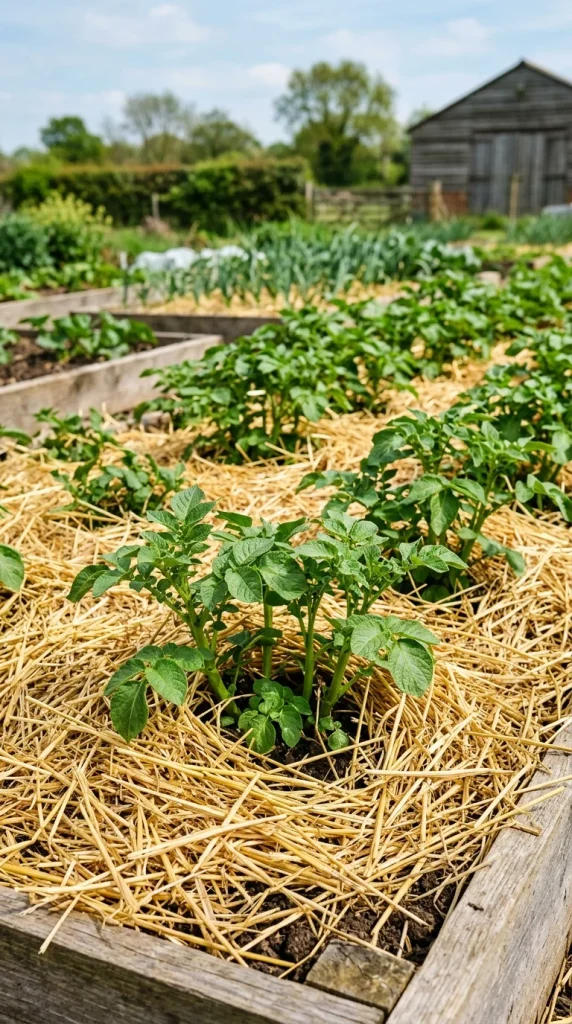
Applying a thick layer of organic mulch, such as straw, shredded leaves, or grass clippings, is a game-changer. Mulch helps retain soil moisture, suppresses weeds that would compete with your potatoes, and keeps the soil temperature cool. Furthermore, as it breaks down, it adds valuable organic matter back into your garden.
15. Proper Fertilizing
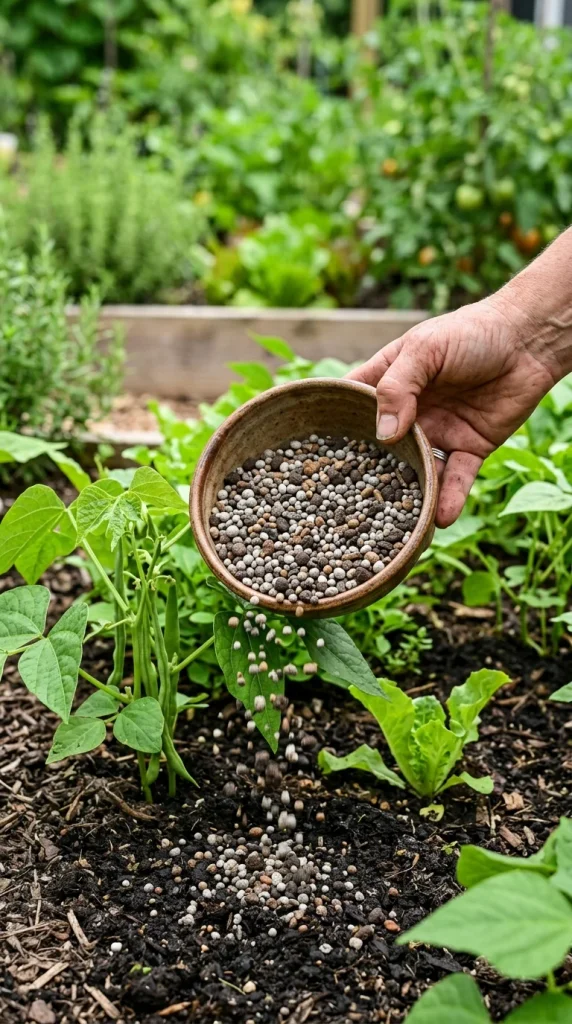
Potatoes are “heavy feeders.” They require plenty of nutrients to produce a large crop. However, be careful with nitrogen; too much will give you lush, beautiful green leaves but very few potatoes. Use a balanced organic fertilizer or one slightly higher in phosphorus and potassium to encourage tuber development. Mixing compost into the soil before planting is often enough for the early stages.
16. Pest Management
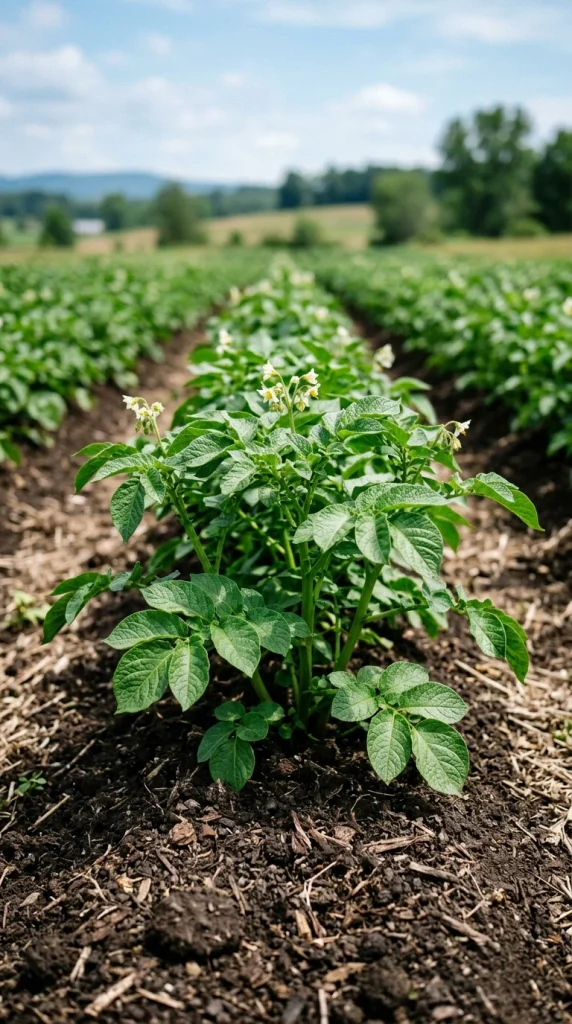
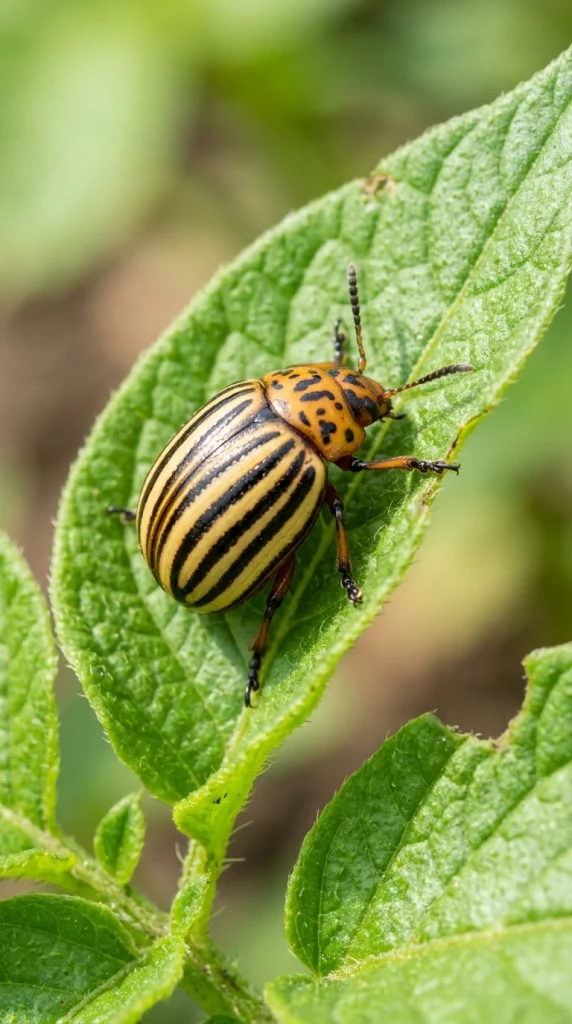
The most common nemesis of the potato grower is the Colorado Potato Beetle. These striped invaders can quickly defoliate your plants. For a beginner, the best defense is daily “scouting.” Check the undersides of leaves for clusters of bright orange eggs and pick off any beetles you see, dropping them into a jar of soapy water.
17. Disease Prevention
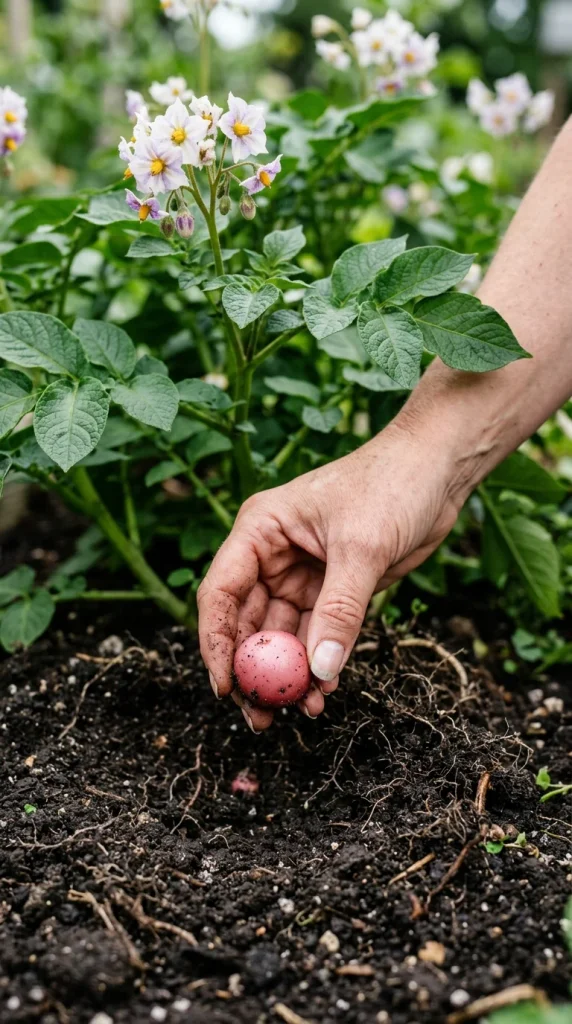
Blight is the most famous potato disease, flourishing in warm, damp conditions. To prevent it, ensure your plants have plenty of airflow by following proper spacing guidelines. Avoid watering the leaves directly; instead, water at the base of the plant. If you notice dark, water-soaked spots on the leaves, remove the affected foliage immediately to prevent the spread.
18. New Potatoes
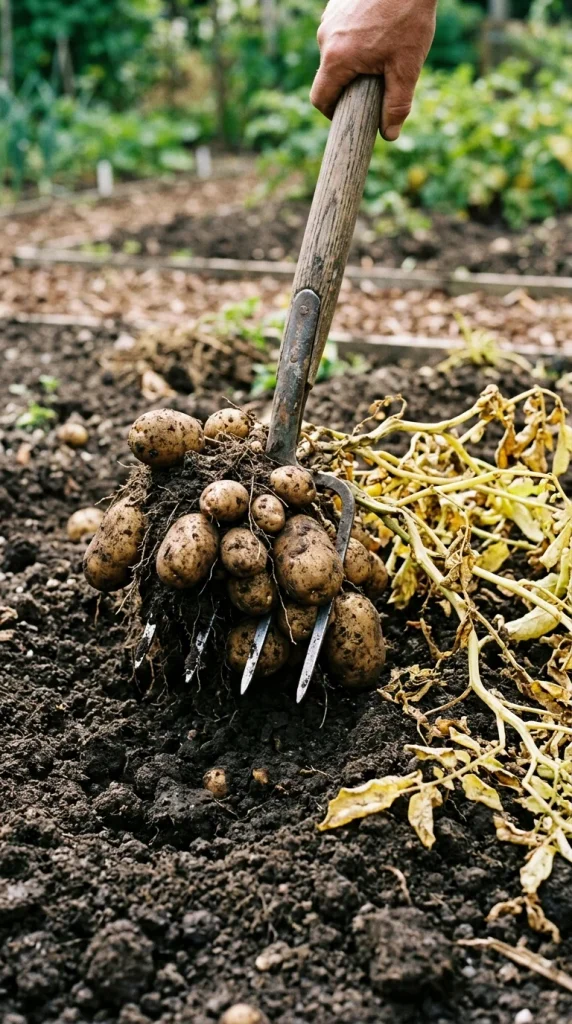
One of the perks of growing your own is “new potatoes.” These are immature potatoes harvested while the plant is still green. About two to three weeks after the plants finish flowering, you can gently “rob” the plant by reaching into the soil and pulling out a few small tubers. These have incredibly thin skins and a sweet, creamy flavor that you cannot buy in stores.
19. Maincrop Harvest
For your main harvest, patience is a virtue. Wait until the foliage has completely turned yellow and died back. Once the tops are dead, leave the potatoes in the ground for another two weeks. This allows the skins to “set” or toughen up, which is essential if you plan on storing them for several months.
20. Curing Tubers
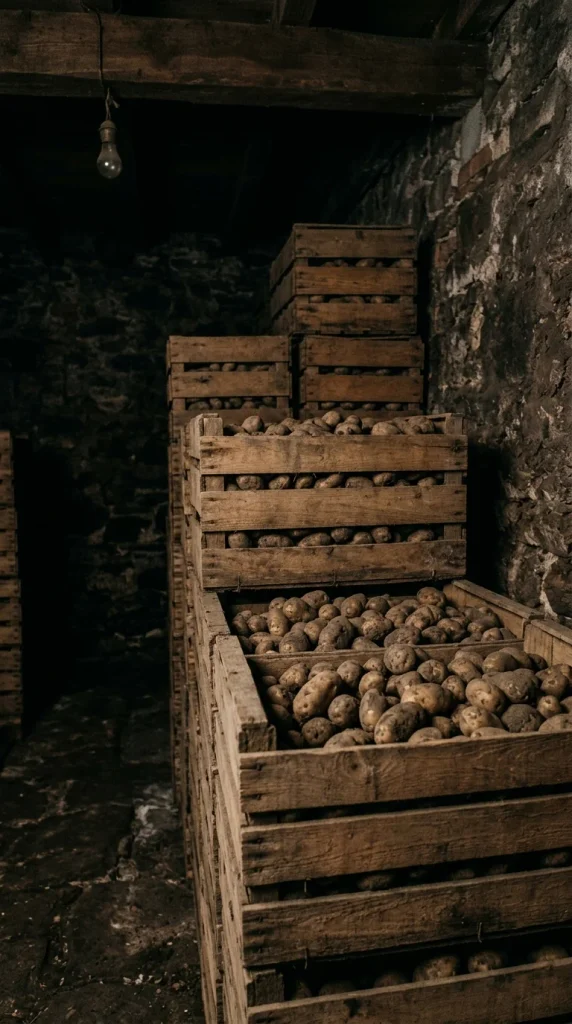
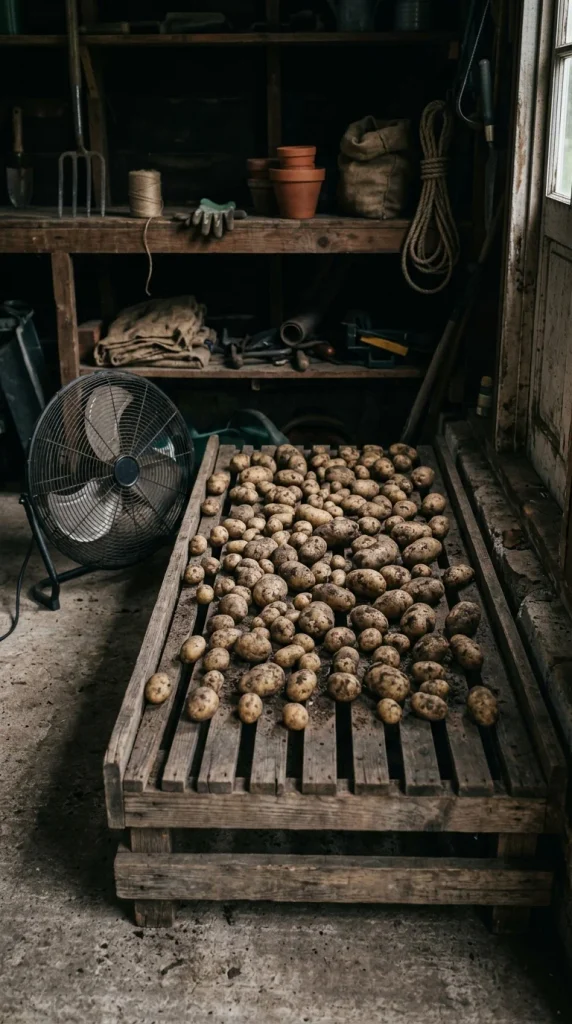
Before moving your potatoes to long-term storage, they need to be “cured.” Brush off any loose dirt (do not wash them!) and spread them out in a cool, dark, well-ventilated area for about 7 to 10 days. This process heals any small nicks or cuts and further thickens the skins, preventing rot during the winter months.