
The Christmas cactus (Schlumbergera) is a holiday staple, cherished for its spectacular display of tubular flowers that bloom just as the winter chill sets in. Unlike their desert-dwelling cousins, these are tropical epiphytes, native to the rainforests of Brazil. This means they have unique needs that can sometimes lead to frustration for the home gardener. When your festive plant begins to drop its buds or turn an alarming shade of purple, it is communicating that something is wrong.
Understanding the language of your plant is the key to a thriving, decades-long relationship. In this guide, we will break down 16 common Christmas cactus problems and provide expert solutions to get your plant back to its blooming best.
1. Bud Drop
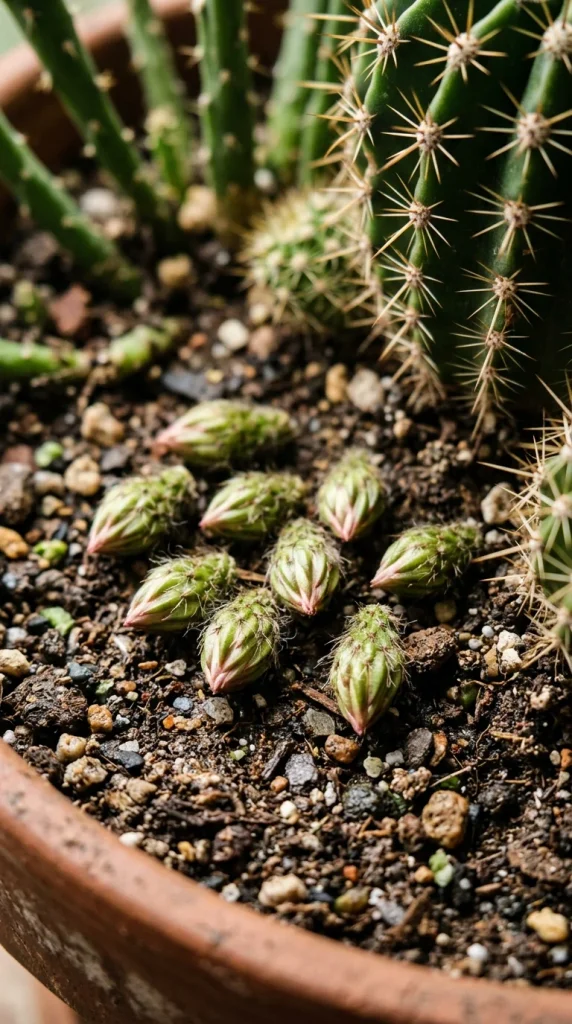
Perhaps the most heartbreaking issue is when a plant covered in promising buds suddenly drops them all before they open. This usually happens due to a sudden change in environment. Christmas cacti are sensitive to “shocks,” such as a blast of cold air from a nearby door or the dry heat from a radiator.
The Fix: Once the plant begins to set buds, do not move it. Keep it in a stable location with a consistent temperature between 60°F and 70°F. Avoid placing it near drafty windows, air conditioning vents, or heaters. Ensure the soil remains consistently moist but not waterlogged during the budding phase.
2. Limp Leaves

If your cactus feels soft and rubbery rather than firm and turgid, it is likely suffering from moisture stress. This can be confusing because limp leaves can be a symptom of both underwatering and overwatering.
The Fix: Check the soil. If it is bone dry, your plant needs a deep drink. If the soil is soggy, you are likely overwatering, which leads to root damage. Adjust your schedule so that the top inch of soil dries out before you water again. Using a moisture meter can help take the guesswork out of the process.
3. Yellowing Stems
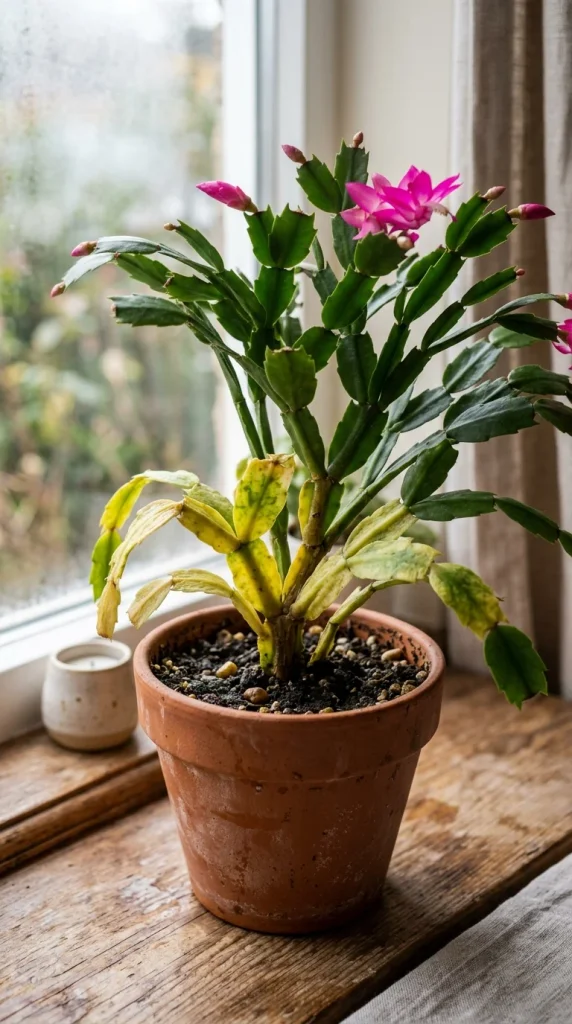
Yellowing, or chlorosis, often indicates that the plant isn’t getting the nutrients it needs or is experiencing too much direct sunlight. In some cases, it can also be the early stages of nitrogen deficiency or an indicator that the soil pH is off.
The Fix: Move the plant to a spot with bright, indirect light. If light isn’t the issue, start a regular feeding schedule during the growing season (spring through early fall) using a balanced liquid houseplant fertilizer diluted to half strength.
4. Red Foliage
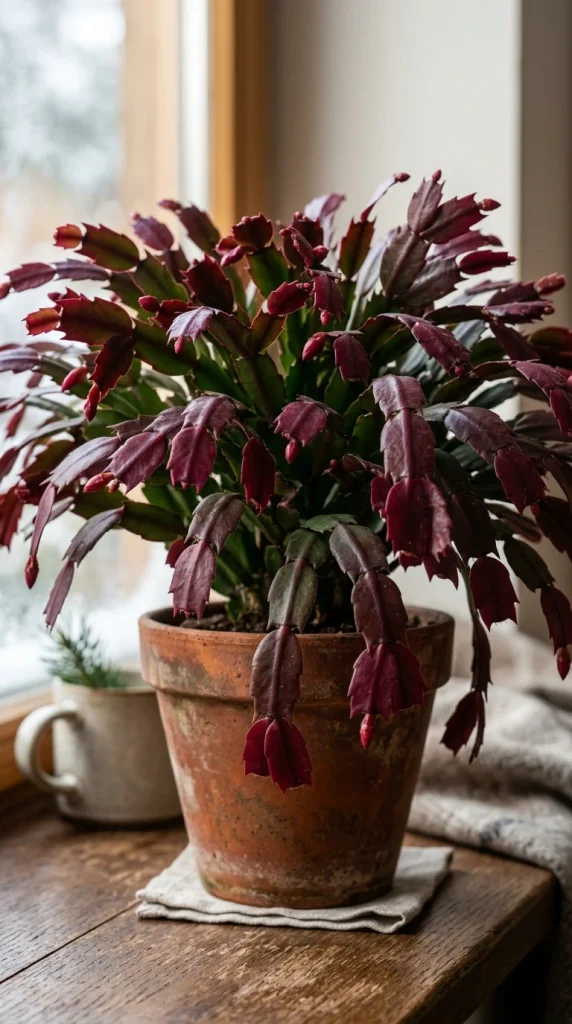
While a reddish tint might look festive, it is actually a sign of stress. Most commonly, this is “sunburn” caused by too much direct intensity, or it can be a reaction to cold temperatures. It is the plant’s way of producing a protective pigment called anthocyanin.
The Fix: Check the plant’s location. If it is sitting in a south-facing window with direct afternoon sun, move it back a few feet or add a sheer curtain. If the light is fine, ensure the room temperature isn’t dropping below 50°F at night.
5. Root Rot
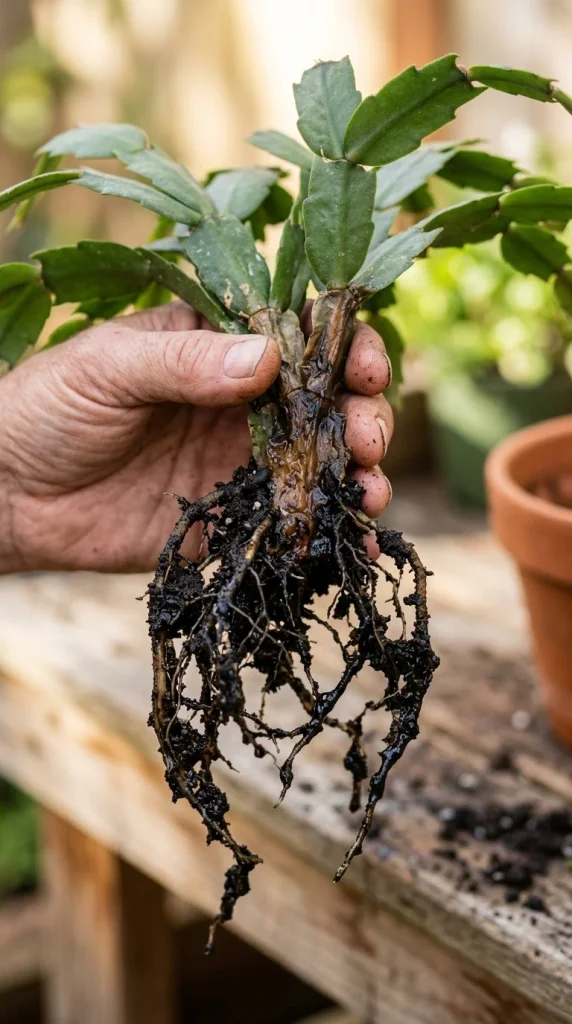
Root rot is a silent killer caused by fungal pathogens that thrive in anaerobic (oxygen-poor) conditions. This happens when the plant sits in standing water or the soil is too heavy and dense.
The Fix: Remove the plant from its pot and gently wash away the soil to inspect the roots. Trim away any black, mushy, or foul-smelling roots with sterilized scissors. Repot the remaining healthy roots into fresh, well-draining potting mix (like a succulent or orchid mix) and use a pot with plenty of drainage holes.
6. Non-Blooming
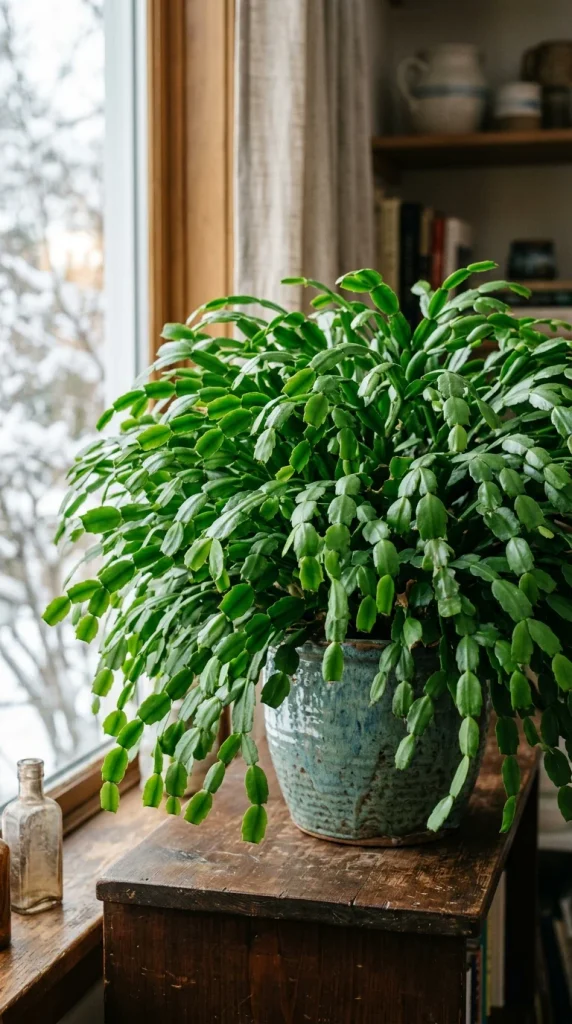
The most common complaint is a cactus that refuses to bloom. These plants are “thermo-photoperiodic,” meaning they require specific light and temperature cues to trigger their flowering cycle.
The Fix: To force blooms, provide the plant with 12 to 14 hours of total darkness every night for six weeks starting in October. Keep the temperatures cool (around 50°F to 55°F) during this period. Limit watering during this “dormancy” phase until you see the first tiny buds forming.
7. Mealybugs
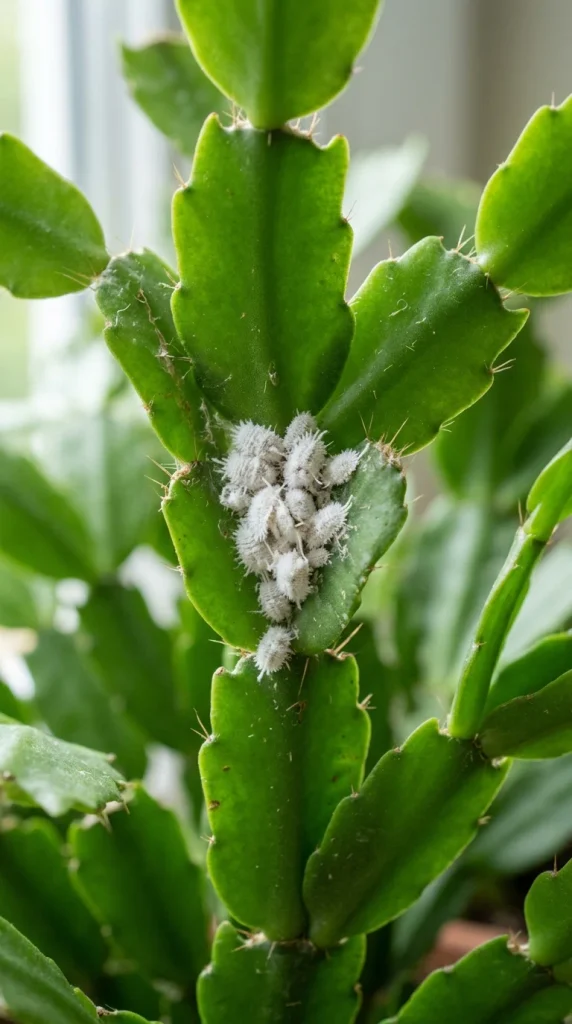
These tiny, white, waxy insects look like bits of cotton stuck to the joints of your plant. They suck the sap from the segments, weakening the plant and causing stunted growth or leaf drop.
The Fix: For a small infestation, dip a cotton swab in rubbing alcohol and dab the insects directly to kill them. For larger problems, wash the plant with a mild insecticidal soap or apply neem oil, ensuring you get into all the crevices where the bugs like to hide.
8. Spider Mites
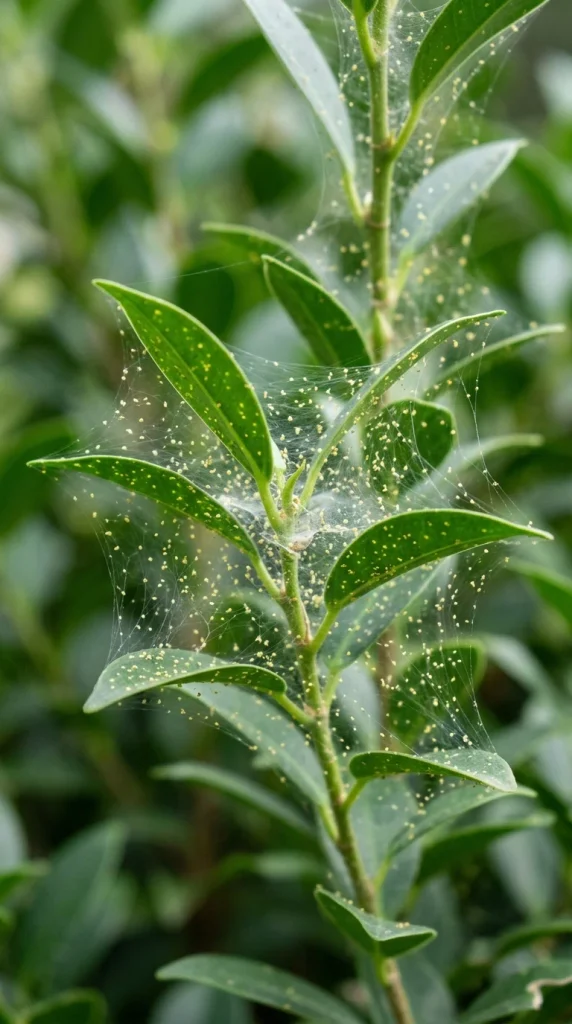
If you notice fine webbing or tiny yellow stippling on the leaves, you likely have spider mites. These pests thrive in the dry indoor air common during the winter months.
The Fix: Increase the humidity around your plant by using a pebble tray or a humidifier. You can also spray the plant down with room-temperature water to knock the mites off. For persistent issues, use a miticide or neem oil treatment every 7 days for a month.
9. Fungus Gnats
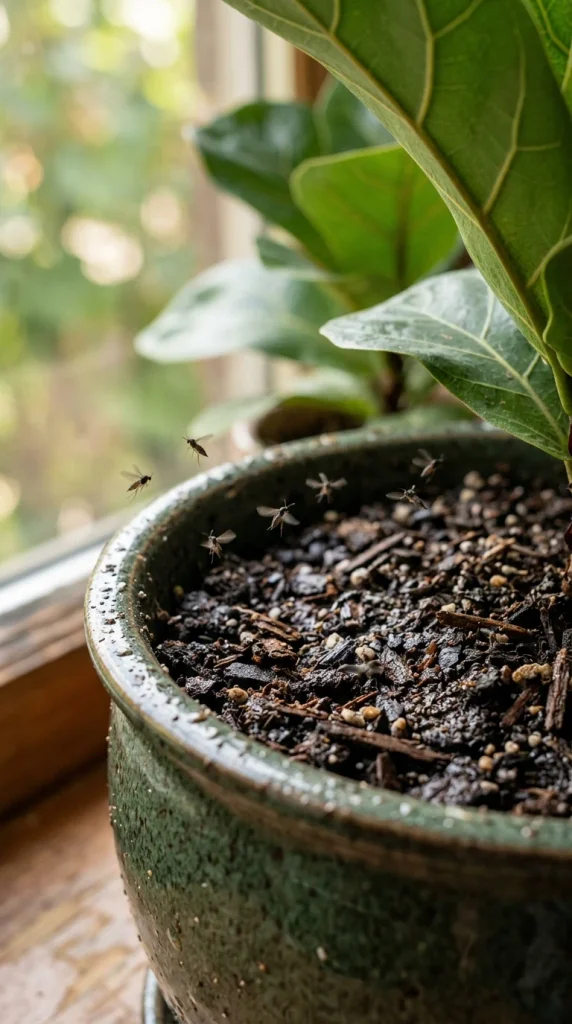
Fungus gnats are more of a nuisance to humans than a danger to the plant, but their larvae can nibble on the delicate root hairs if the population gets out of control. They are attracted to consistently wet soil.
The Fix: Allow the soil to dry out significantly between waterings. You can also place yellow sticky traps near the soil surface to catch the adults or use a “mosquito bit” tea (soaking BTI granules in water) to kill the larvae in the soil.
10. Shriveled Segments
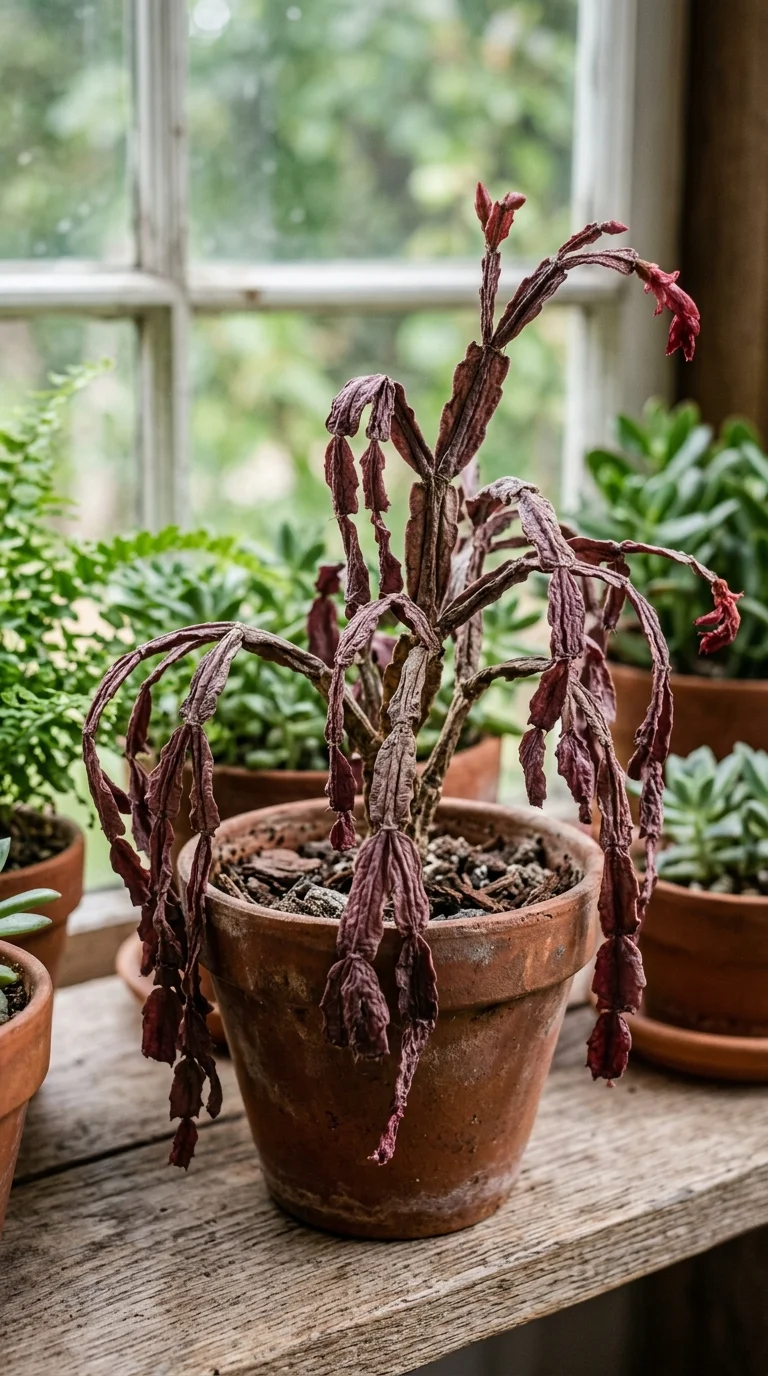
Shriveling is a sign of extreme dehydration. This happens when the plant has been neglected for too long or if the roots have completely dried up and can no longer transport water to the foliage.
The Fix: If the soil is hard and pulling away from the sides of the pot, use the “bottom watering” method. Place the pot in a basin of water for 30 minutes to allow the root ball to rehydrate thoroughly. If the plant doesn’t plump up after a few days, take cuttings from the healthy tips to start a new plant.
11. Stem Canker
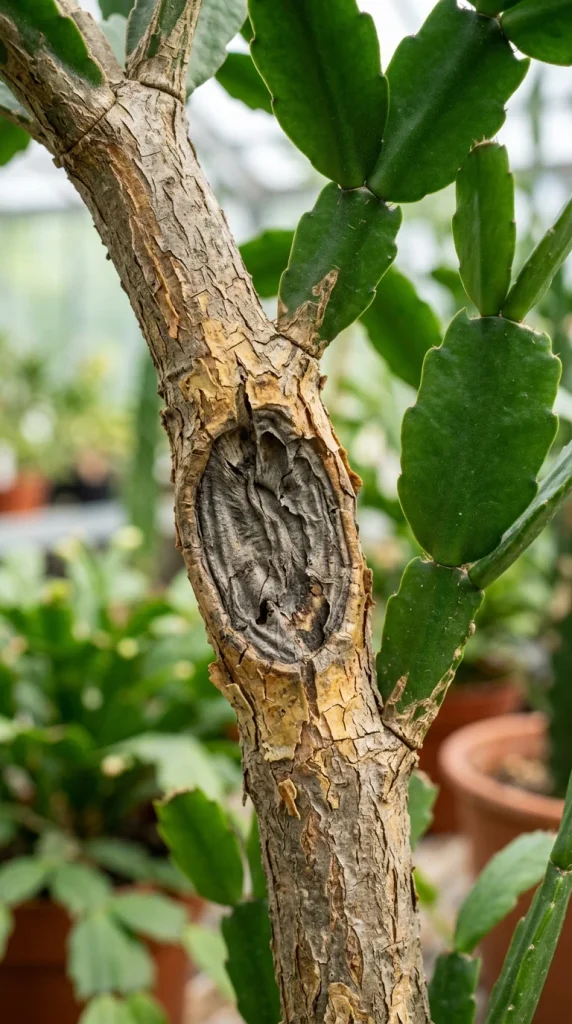
Stem canker is a fungal or bacterial infection that causes lesions on the main stem. It can eventually girdle the stem, cutting off nutrients to the rest of the plant and causing it to collapse.
The Fix: Unfortunately, once a canker has taken hold of the main stem, the plant is difficult to save. Your best bet is to prune away the diseased sections well below the canker. Use sterilized tools and immediately dispose of the infected material.
12. Overcrowded Roots
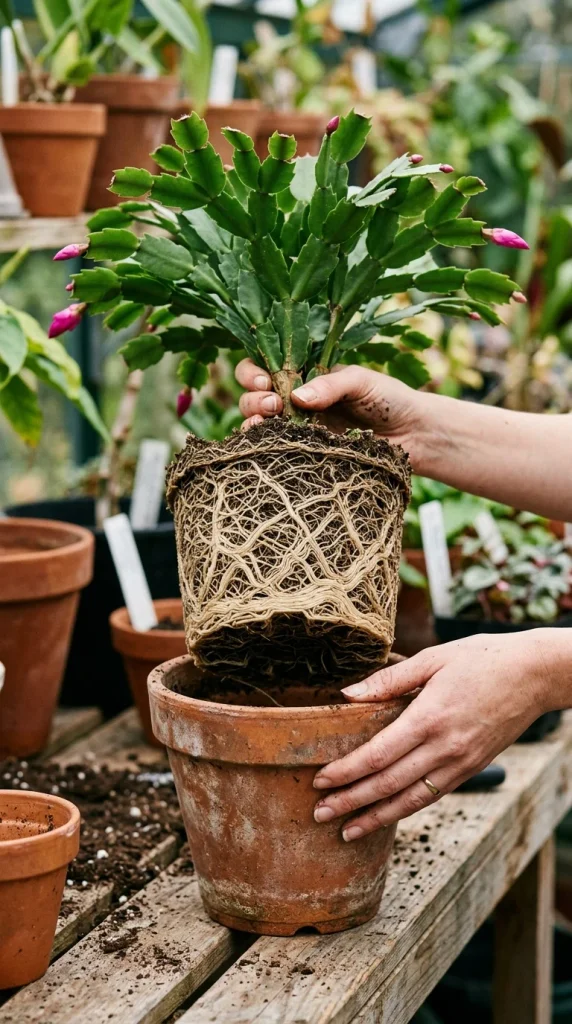
While Christmas cacti actually prefer being slightly root-bound to encourage blooming, there is a limit. If the roots are circling the pot so tightly that there is no soil left to hold moisture, the plant will suffer.
The Fix: Every 2 to 3 years, check the root system. If the plant is severely pot-bound, move it to a pot that is only one size larger (about 1-2 inches wider). Repot in the spring after the flowering cycle has completely finished and the plant has entered its active growth phase.
13. Improper Light
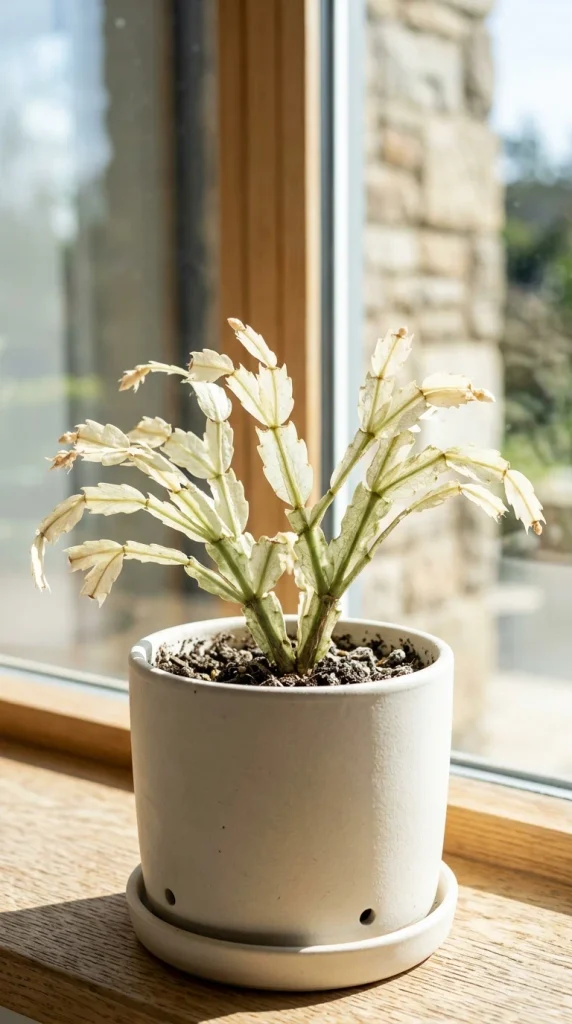
In their native habitat, these plants grow under the canopy of trees. Placing them in a spot that gets too much direct sun will bleach the chlorophyll out of the leaves, while too little light will result in a weak, spindly plant that won’t bloom.
The Fix: Aim for bright, filtered light. An east-facing window is usually perfect. If you have a south or west-facing window, use a sheer curtain to diffuse the intensity of the light during the peak hours of the day.
14. Temperature Shocks

Sudden drops or spikes in temperature are the fastest way to kill a Christmas cactus. They are not frost-tolerant, nor do they enjoy the dry, 80°F+ heat of a typical fireplace mantle.
The Fix: Keep the plant in a room that stays between 60°F and 70°F year-round. If you move your plant outdoors for the summer, ensure you bring it back inside well before the first frost, as temperatures below 40°F can cause permanent tissue damage.
15. Leggy Growth
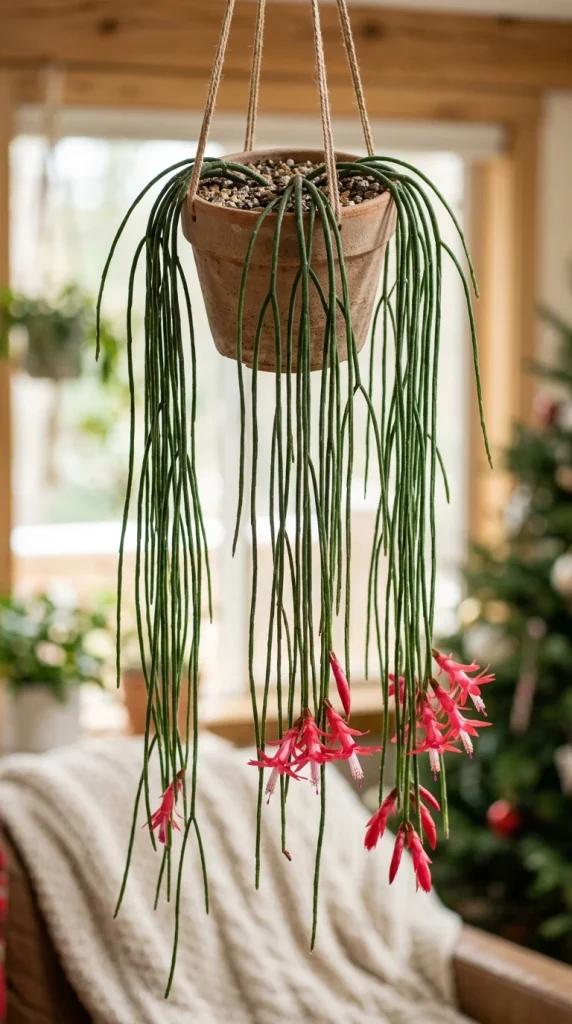
When a plant is reaching for more light, it produces long, thin segments with a lot of space between them. This results in a “leggy” appearance that looks messy and makes the plant prone to breaking under its own weight.
The Fix: Prune your cactus in the spring. You can safely remove up to a third of the plant. Simply twist off segments at the joints. This encourages the plant to branch out from the break point, resulting in a fuller, bushier shape. Plus, you can use the pruned segments to propagate new plants!
16. Poor Soil Drainage
Using standard garden soil or heavy potting soil is a recipe for disaster. These soils hold too much moisture and don’t allow air to reach the roots, which mimics the conditions of a swamp rather than a rainforest.
The Fix: Use a high-quality potting mix designed for cacti and succulents, or create your own by mixing two parts regular potting soil with one part perlite and one part orchid bark. Always ensure the pot has drainage holes so excess water can escape freely.